Introduction
calendar is a helper to track your goals.
Source Code
The source code from which this book is generated can be found on Github.
Get started
This page describes how to start the calendar on local machine for development purposes.
calendar-backend
Prerequisites
Before starting the backend, you will need to have the rust toolchain installed.
Follow the instructions from official site.
Start the backend
Clone the git repo
git clone https://github.com/calendar-team/calendar-backend.git
cd into the directory
cd calendar-backend
Start the app
cargo run
calendar-frontend
Prerequisites
Before starting the frontend, you will need to have Node.js and npm installed.
Follow the instruction from official site.
Start the frontend
Clone the git repo
git clone https://github.com/calendar-team/calendar-frontend.git
cd into the directory
cd calendar-frontend
Install locally all the dependencies from the project
npm install
Start the app
npm run dev
Architecture overview
Currently, the calendar project has 3 components:
- calendar-frontend: the frontend written using Next.js
- calendar-backend: the backend written in Rust
calendar-docs: this book
flowchart TD
  subgraph browser["fab:fa-internet-explorer Browser"]
    direction TB
    calendar-frontend-client-side("Client side of calendar-frontend")
  end

  subgraph vercel["fab:fa-server Vercel"]
    calendar-frontend-server-side("Server side of calendar-frontend")
  end

  subgraph ec2["fab:fa-server EC2"]
    direction TB
    calendar-backend --> sqlite
  end

  client("fal:fa-user Client")
  sqlite("fab:fa-database SQLite")
  calendar-backend(calendar-backend)

  client -- "<a href='https://calendar.aguzovatii.com' target='_blank'>https://calendar.aguzovatii.com</a>" --> browser
  browser --> vercel --> ec2
  browser --> ec2
calendar-fronted
Deployment
The calendar-fronted is deployed on Vercel.
The deployment is done automatically every time a new commit is made on the main branch.
Source Code
The calendar-fronted source code can be found on Github.
calendar-backend
Currently it also contains an in-memory sqlite database.
Deployment
The calendar-backend is deployed on EC2.
The deployment is done automatically every time a new commit is made on master branch.
Source Code
The calendar-backend source code can be found on Github.
Deploy calendar-backend to EC2
Currently, the calendar-backend is deployed to EC2.
This guide will describe how to deploy on a new EC2 machine and how to configure the deployment pipeline.
-
First we need to launch a new EC2 instance
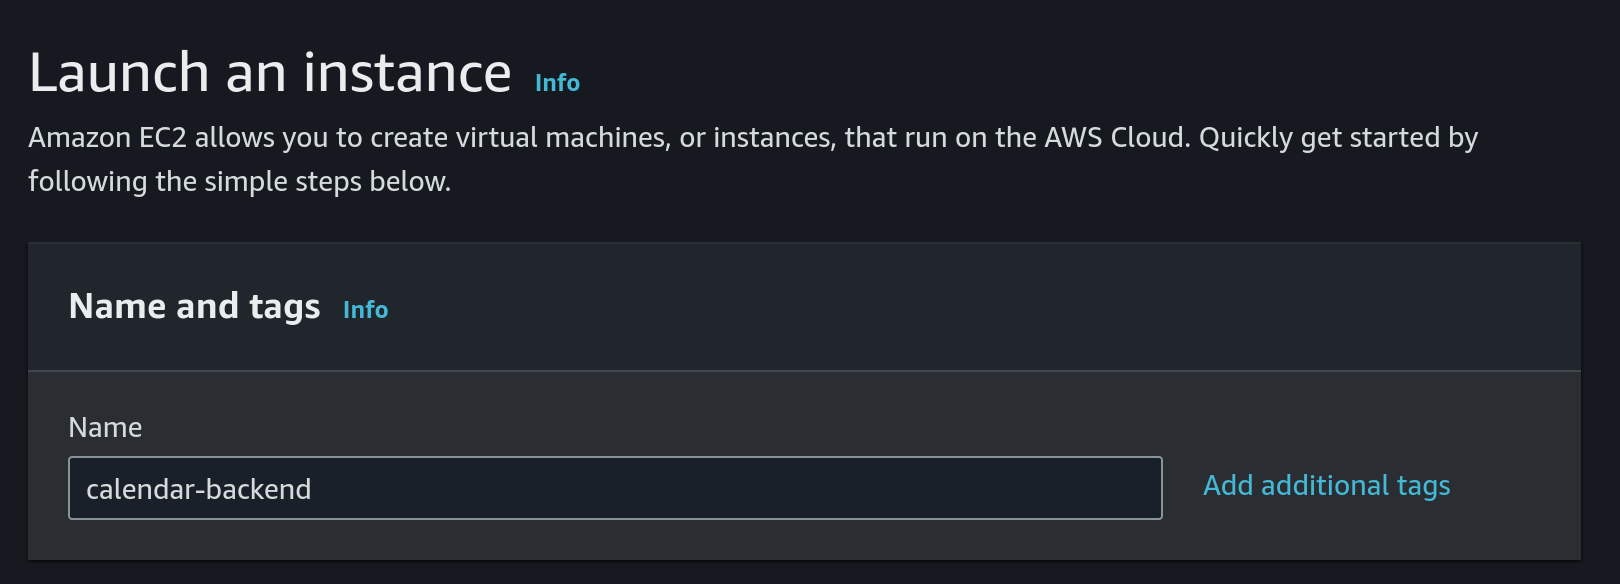
- Choose
Amazon Linuxas OS and a 64 bit architecture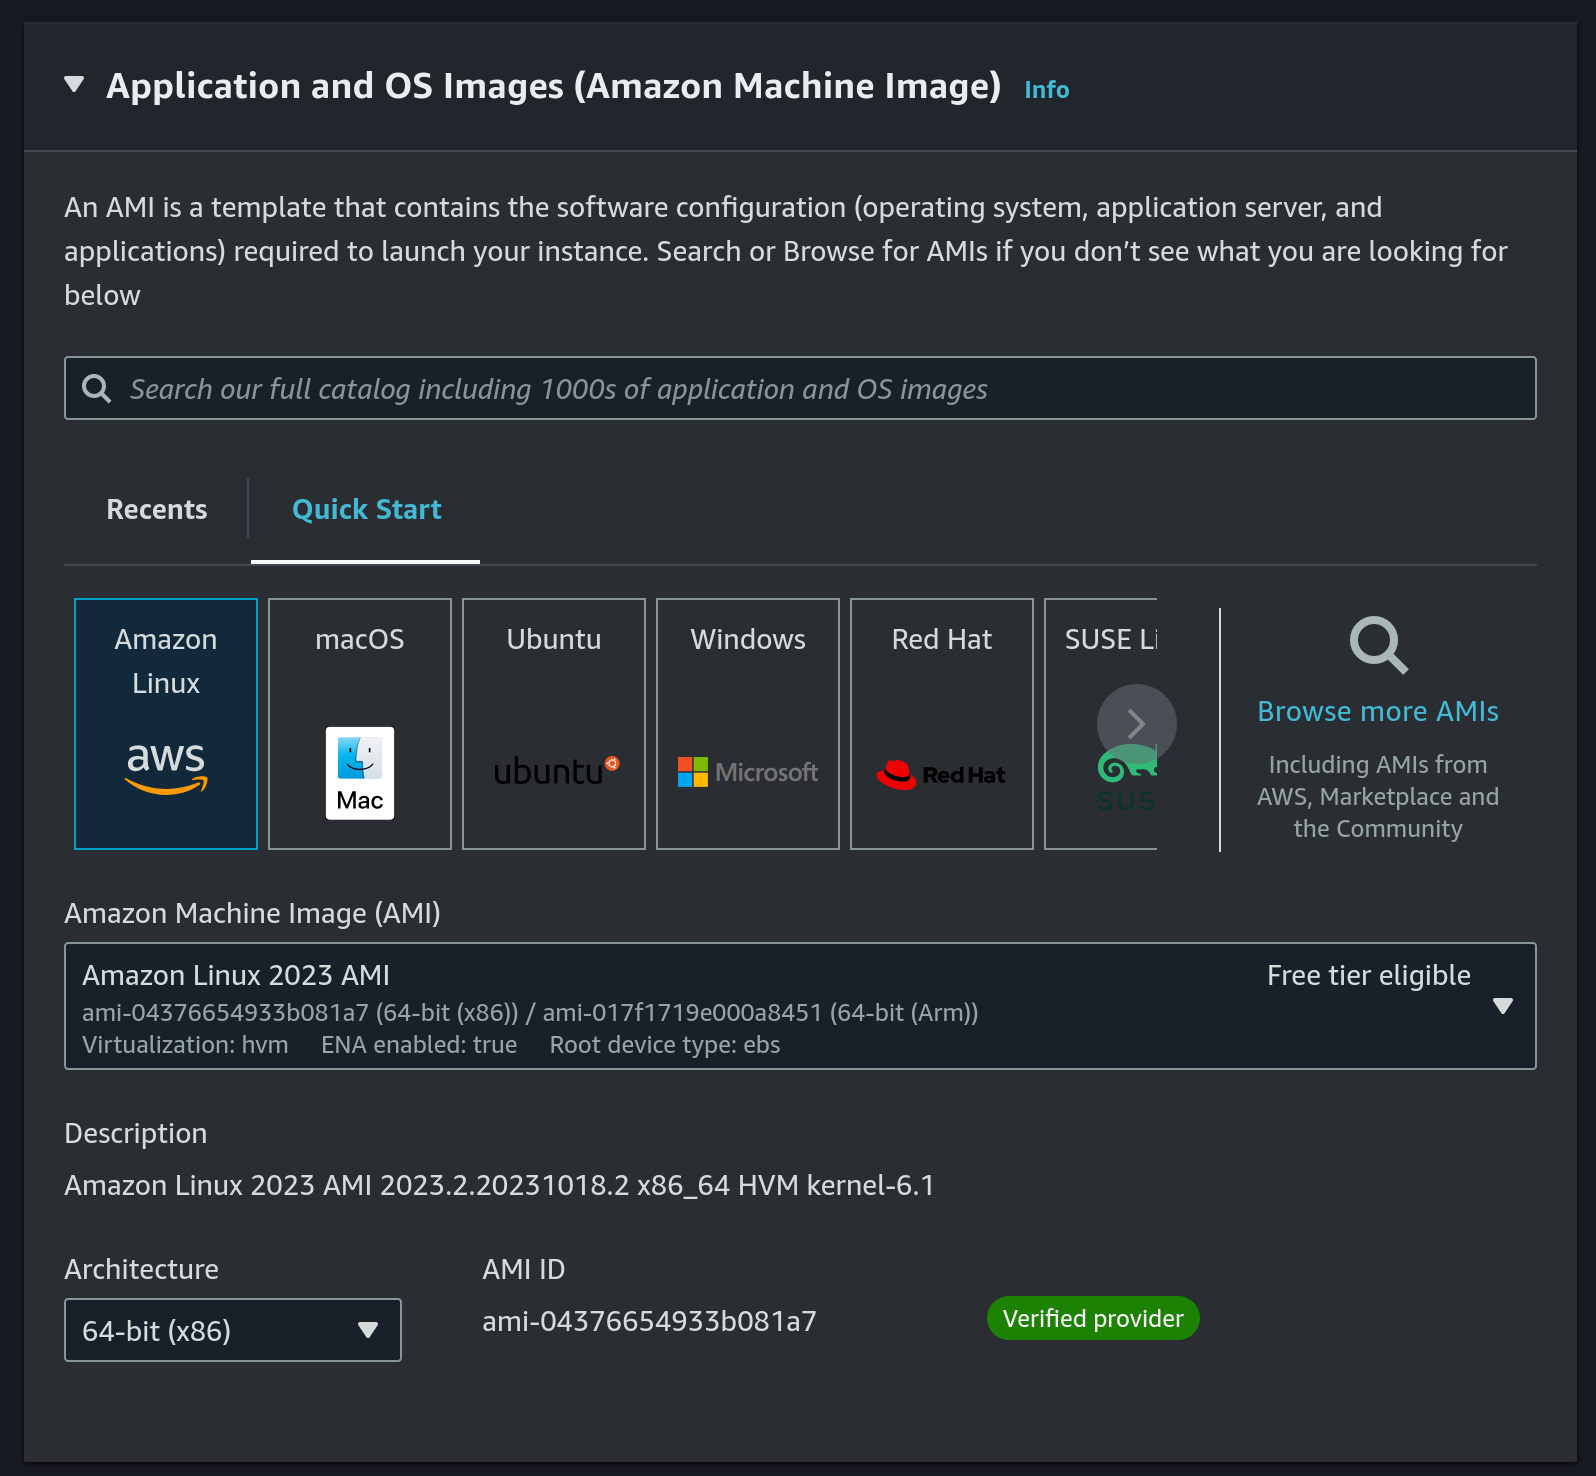
- Instance type:
t2.nano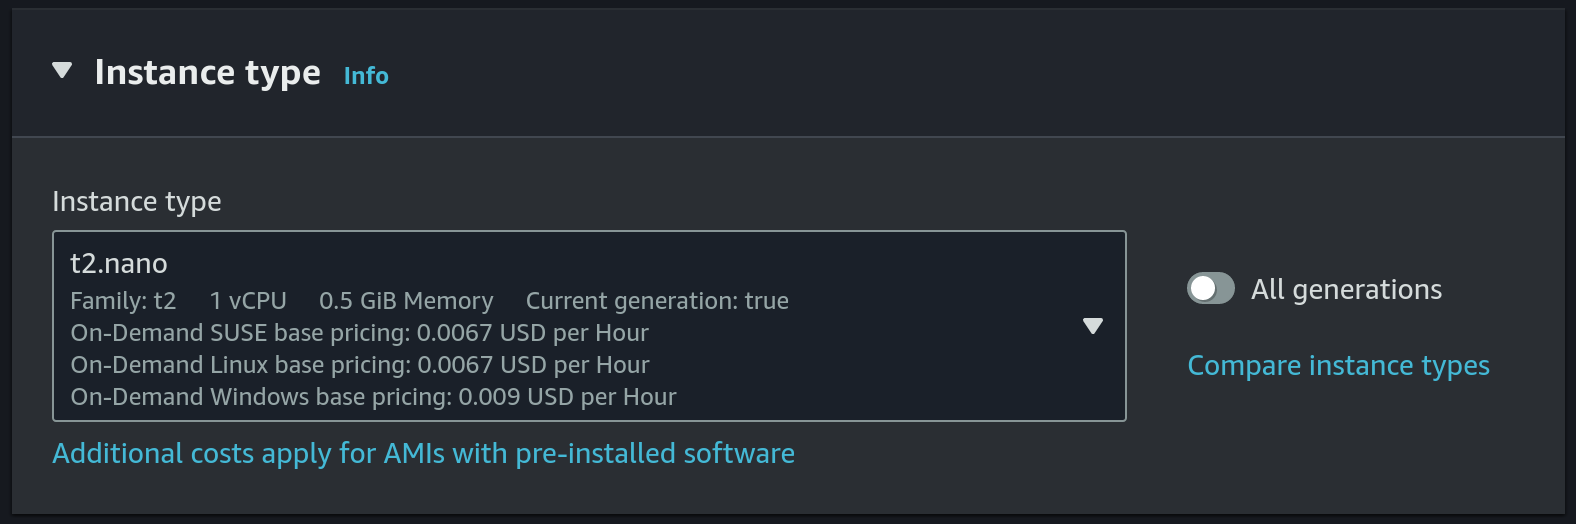 This is the cheapest and smallest instance type.
 - Choose
calendar-backendas the key pair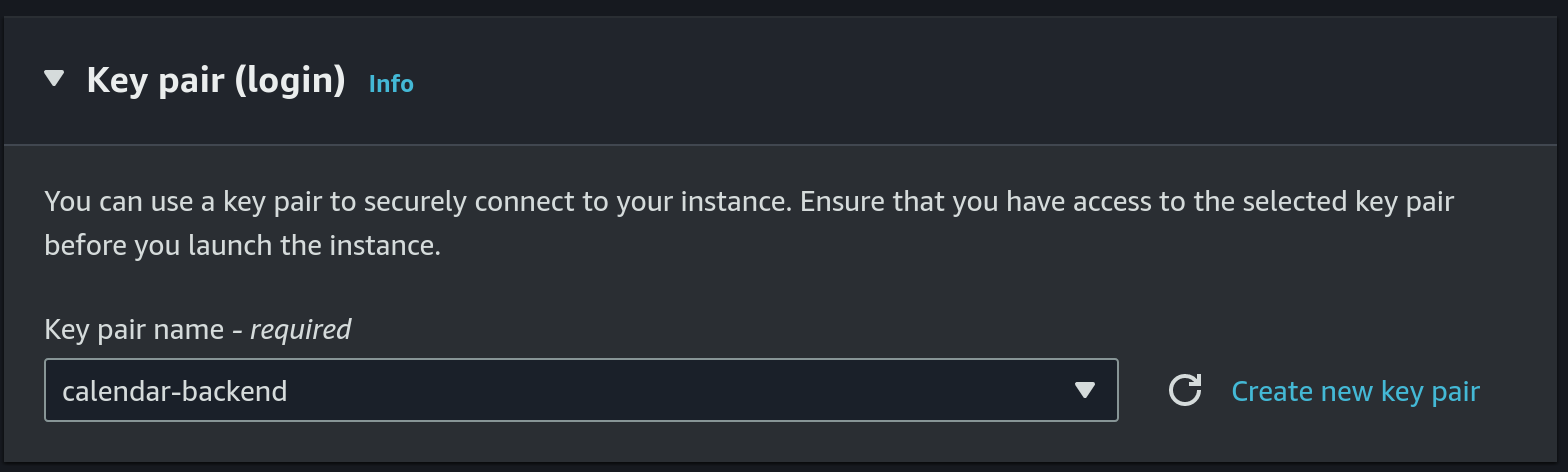 Or we can create a new key pair, just make sure to update the github secret (details will follow in a step below).
 - Use
calendar-backendsecurity group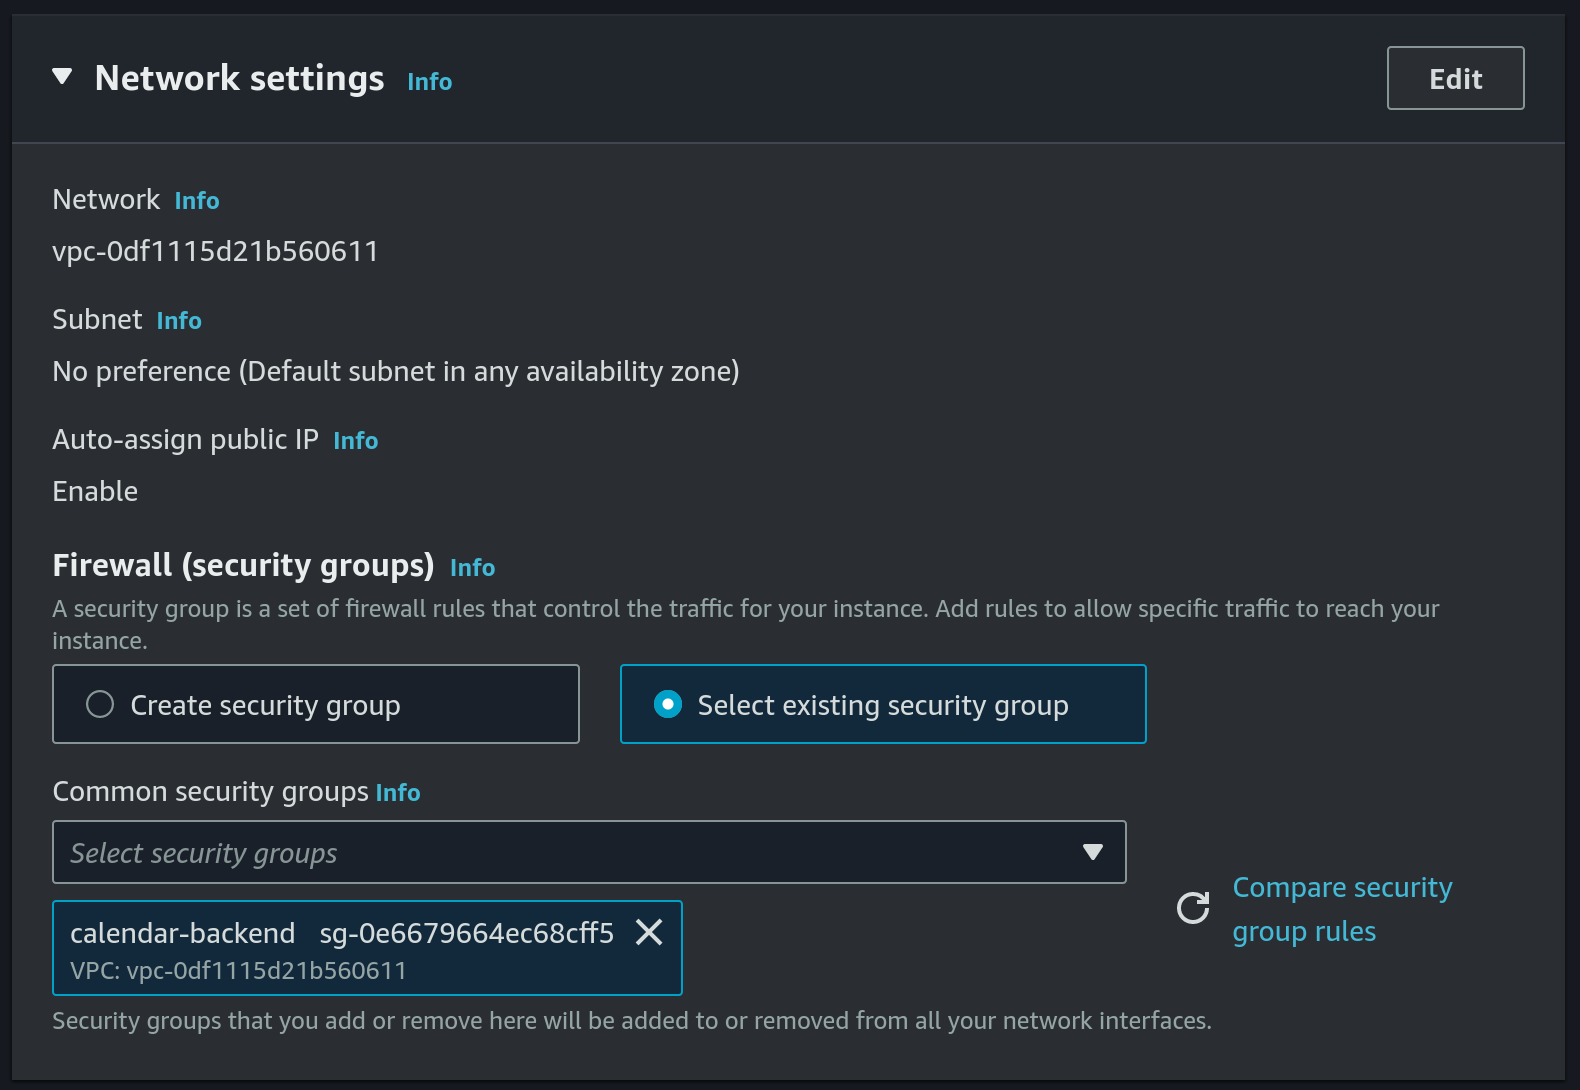 Or we can create a new security group, we will need the following ports to be added under the inbound rules:
22-SSHport used by our github-actions workflow to deploy new version ofcalendar-backend80- used by certbot to renew the TLS certificate (details will follow in a step below)8080- this is the port thatcalendar-backenduses
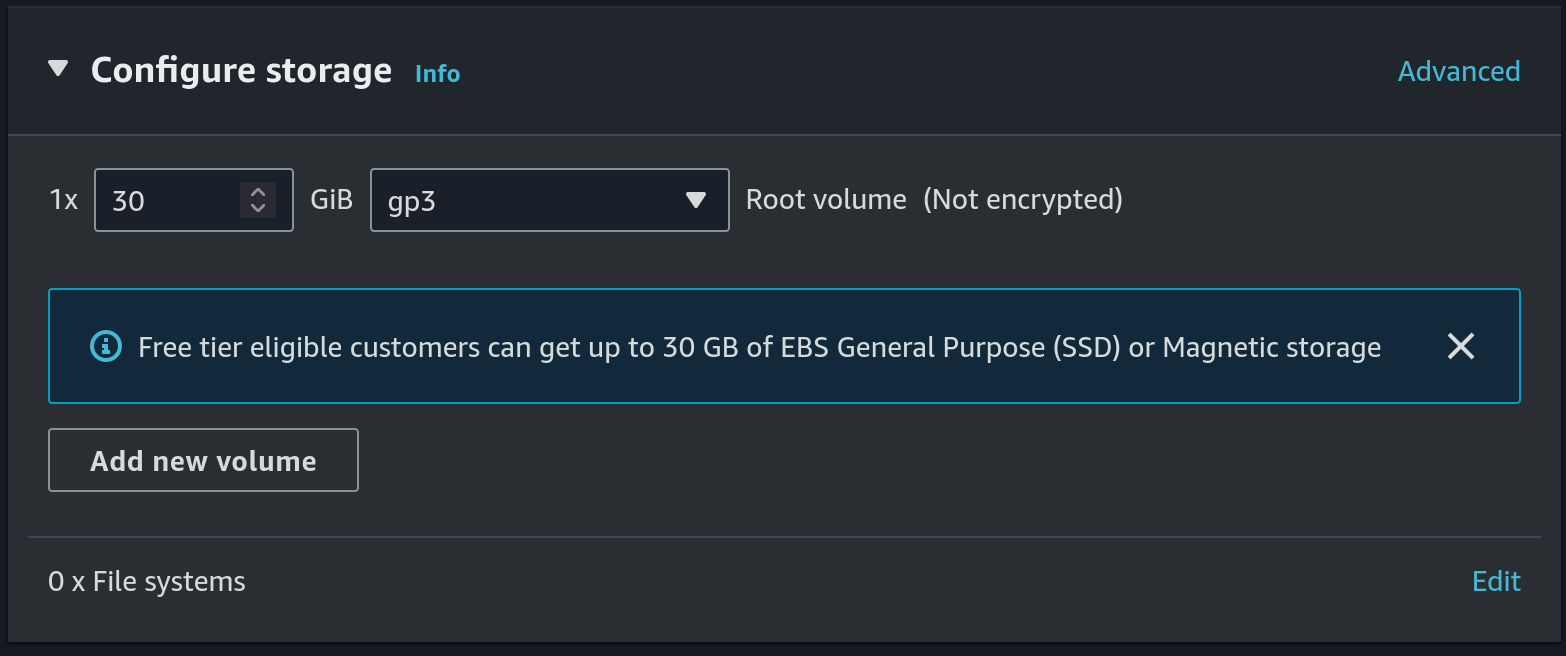
- Allocate a 30 GB gp3 disk
- Create S3 bucket for DB backup
- Set
calendar-db-backupas the name and useeu-central-1as the region: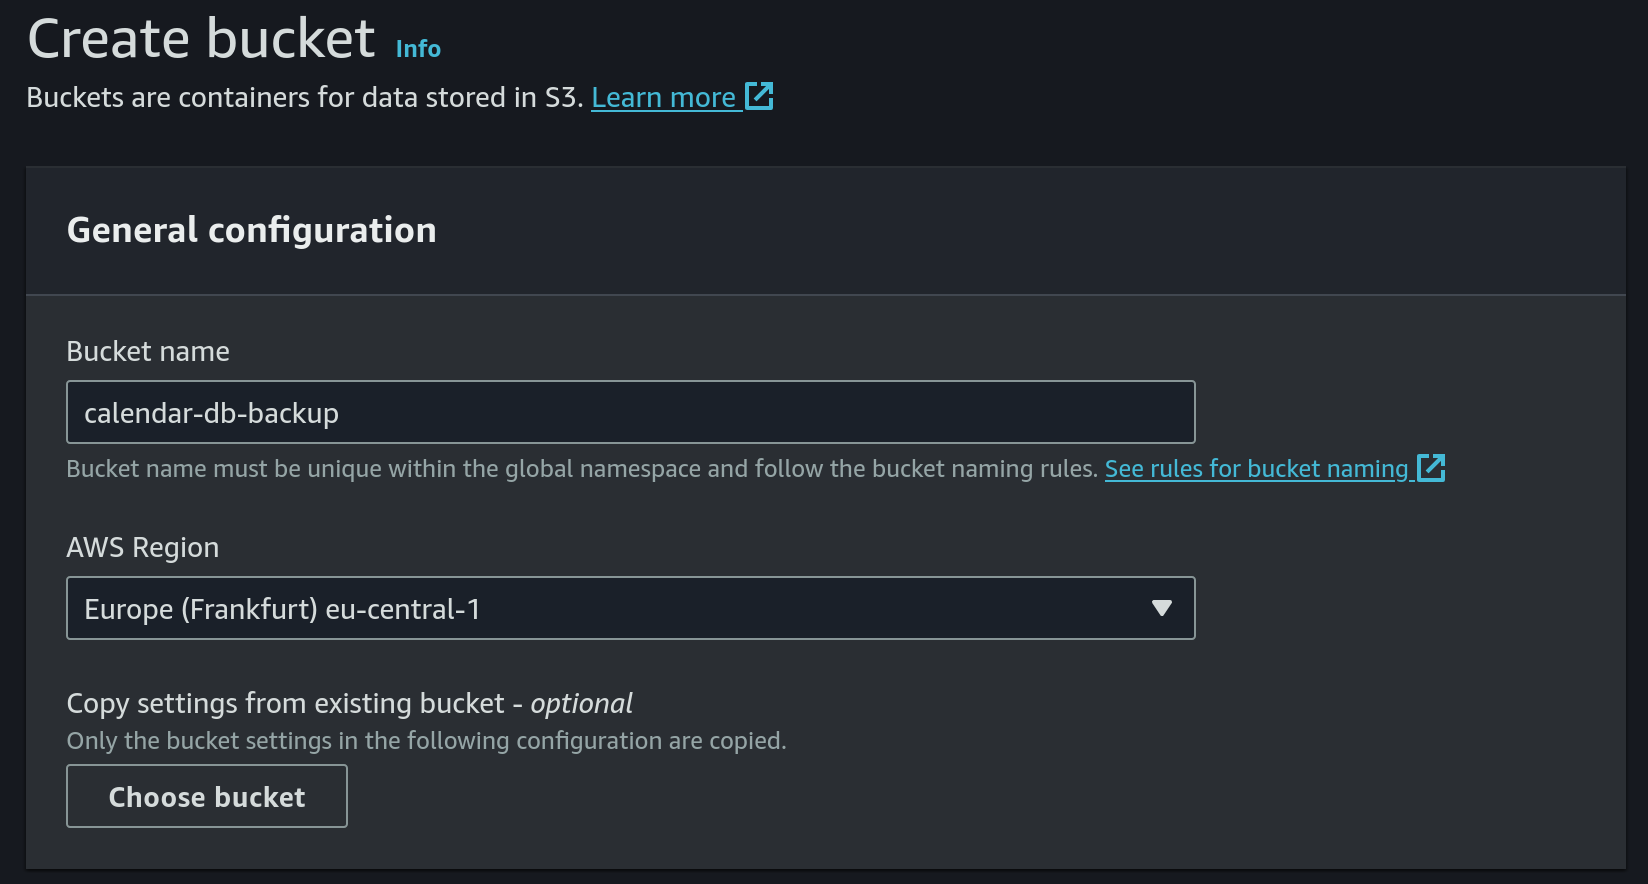
- Keep
ACLs disabledas object ownership option: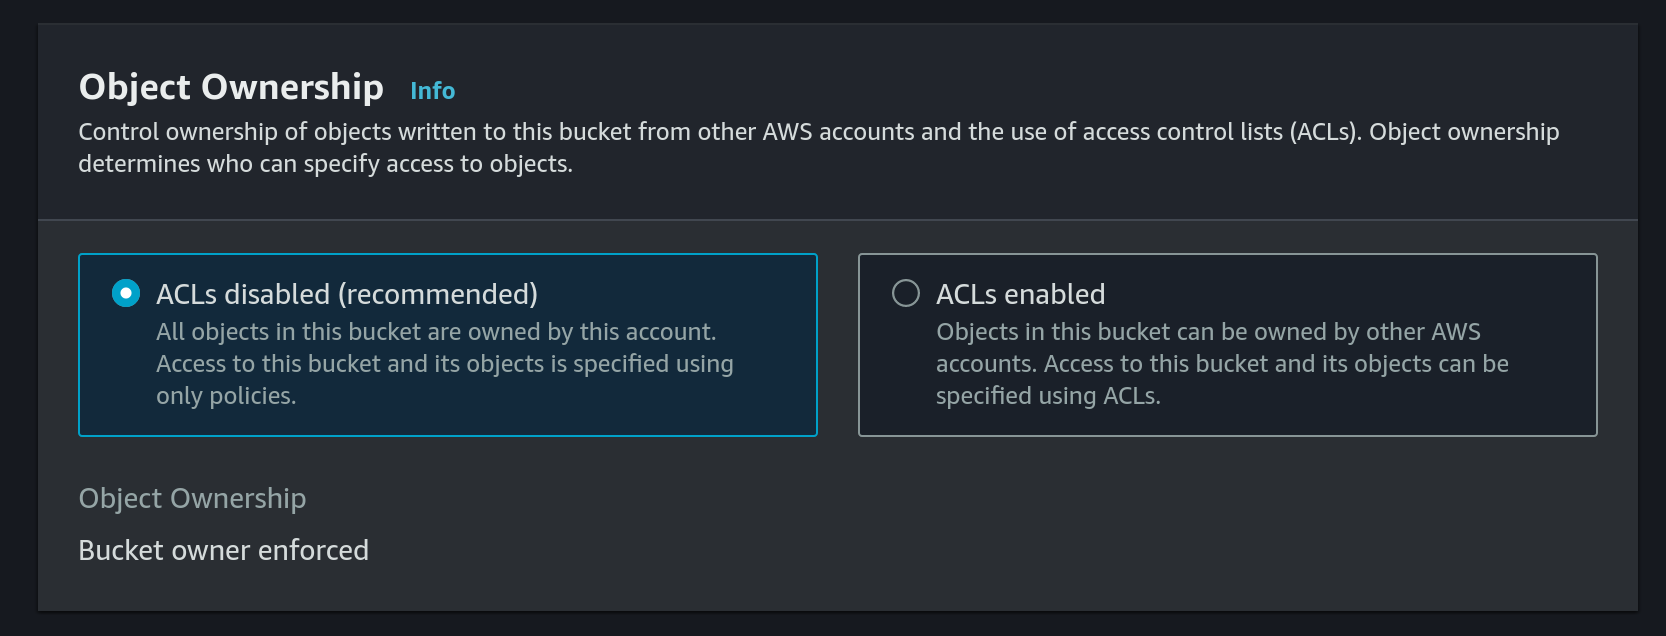
- Block public access:
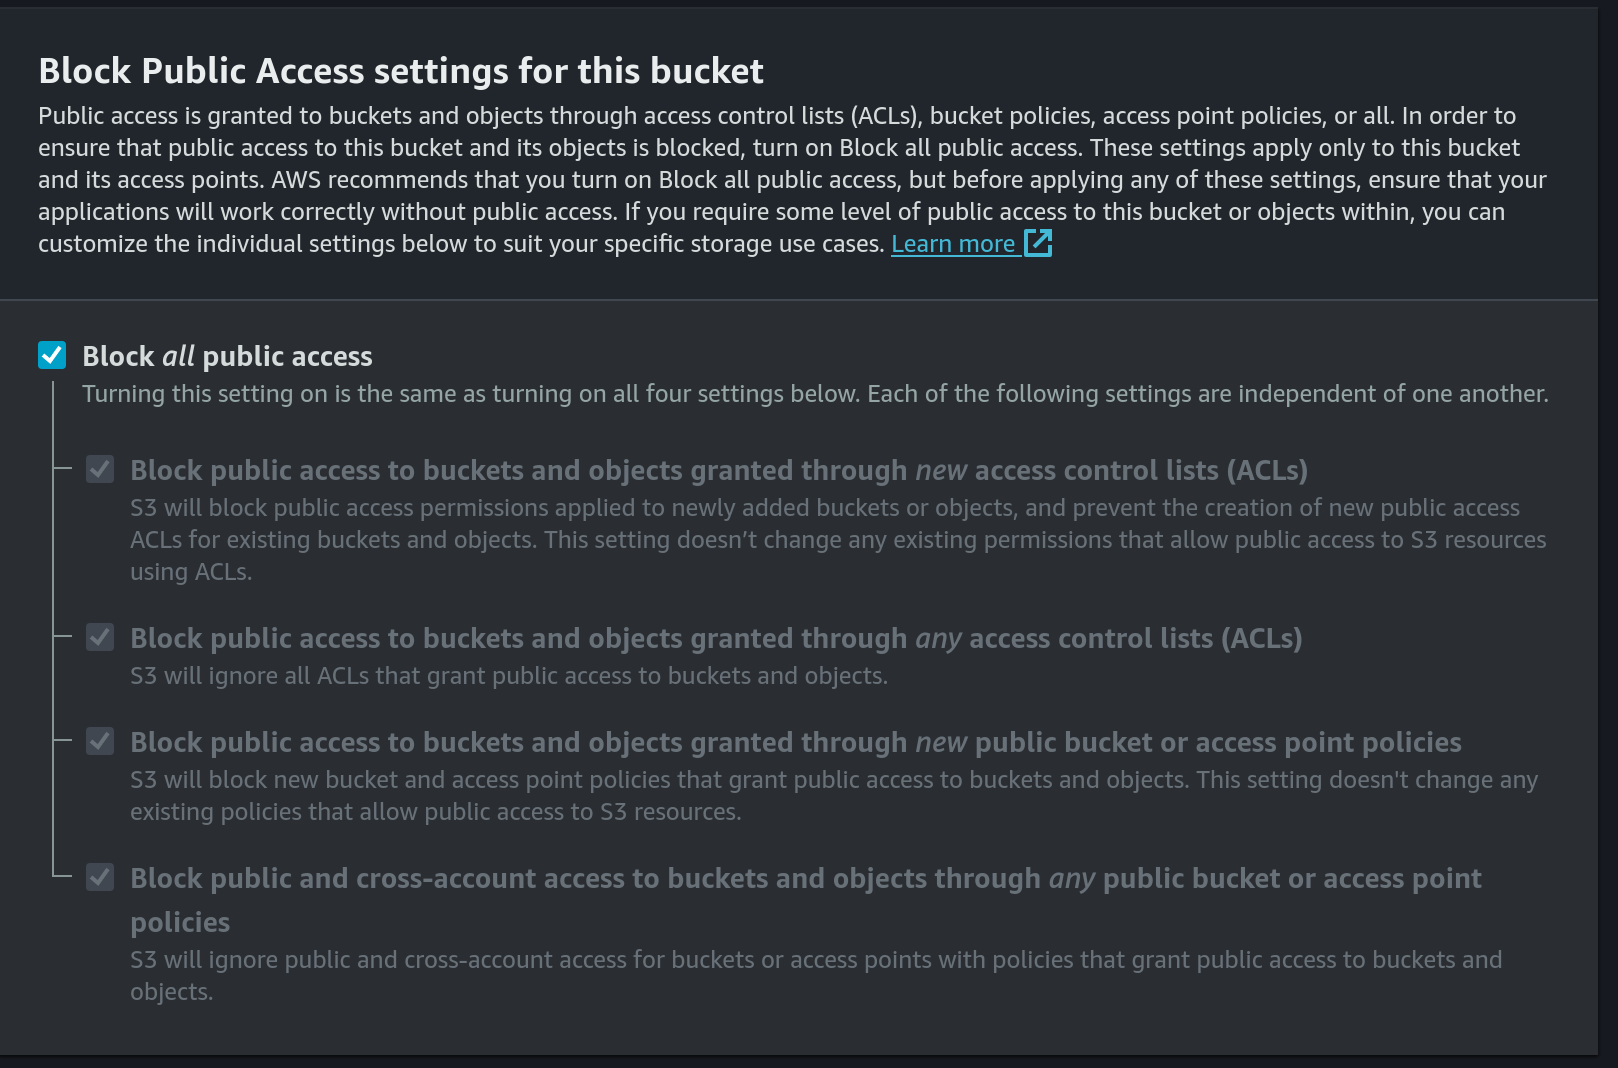
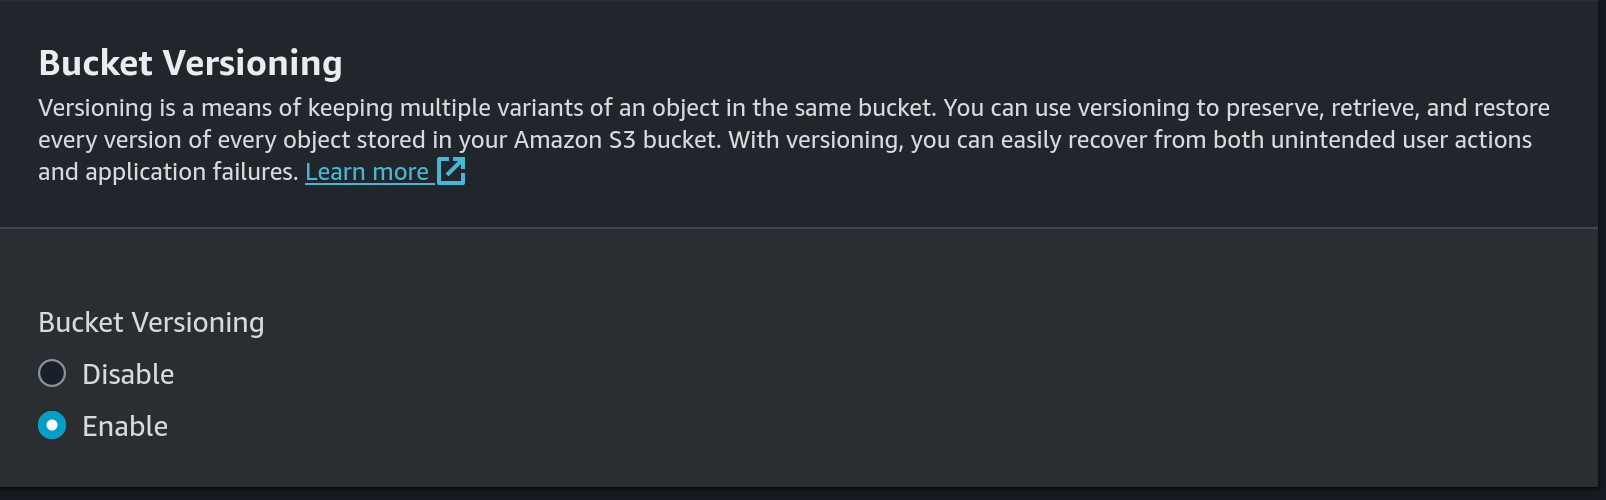
- Enable versioning:
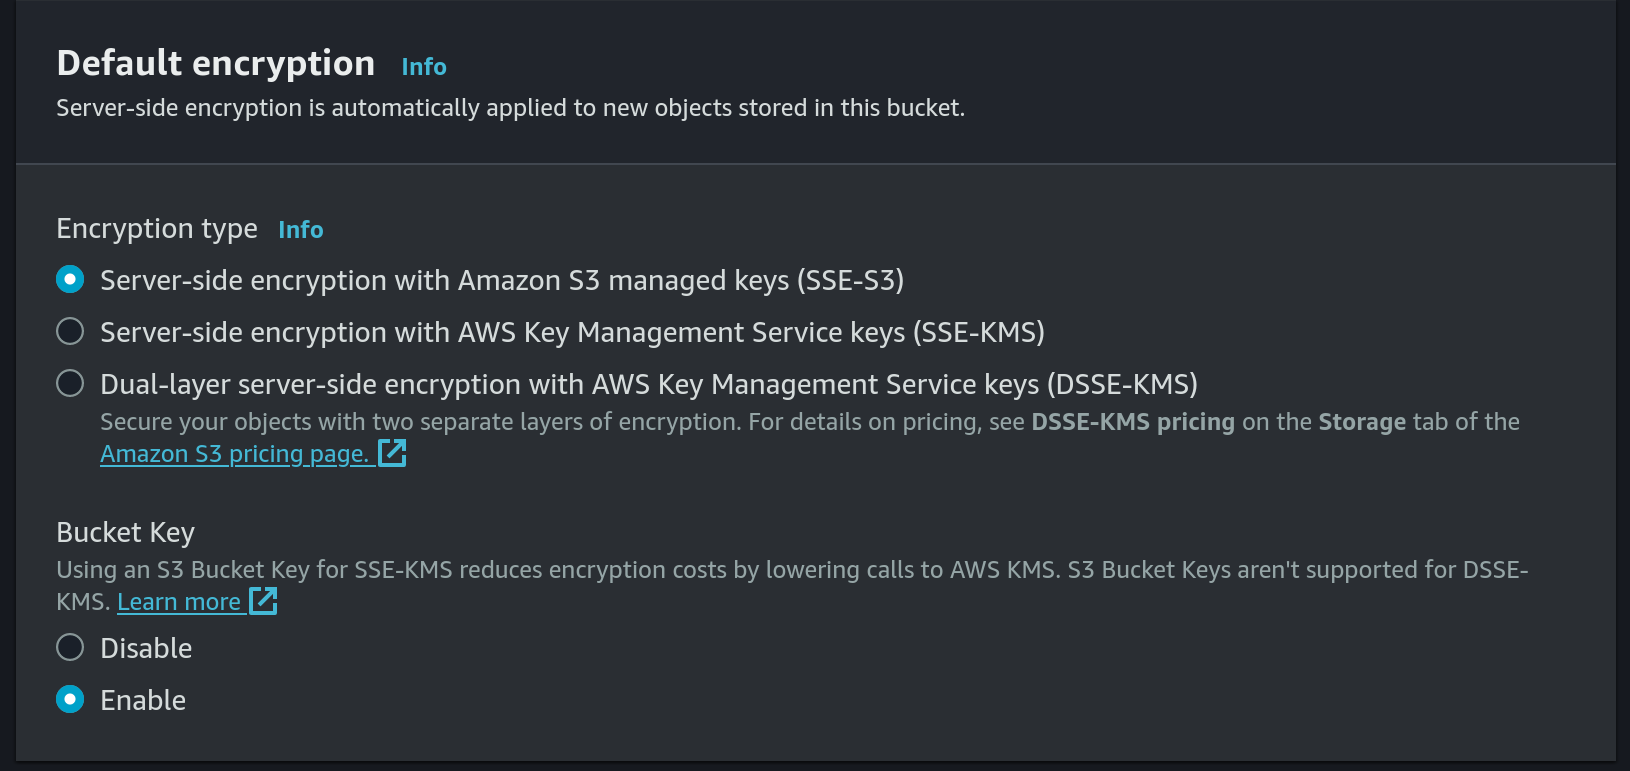
- Use default encryption:
- Set
- Create a new IAM Policy for S3 put access:
- Choose
S3as the service andPutObjectas access level: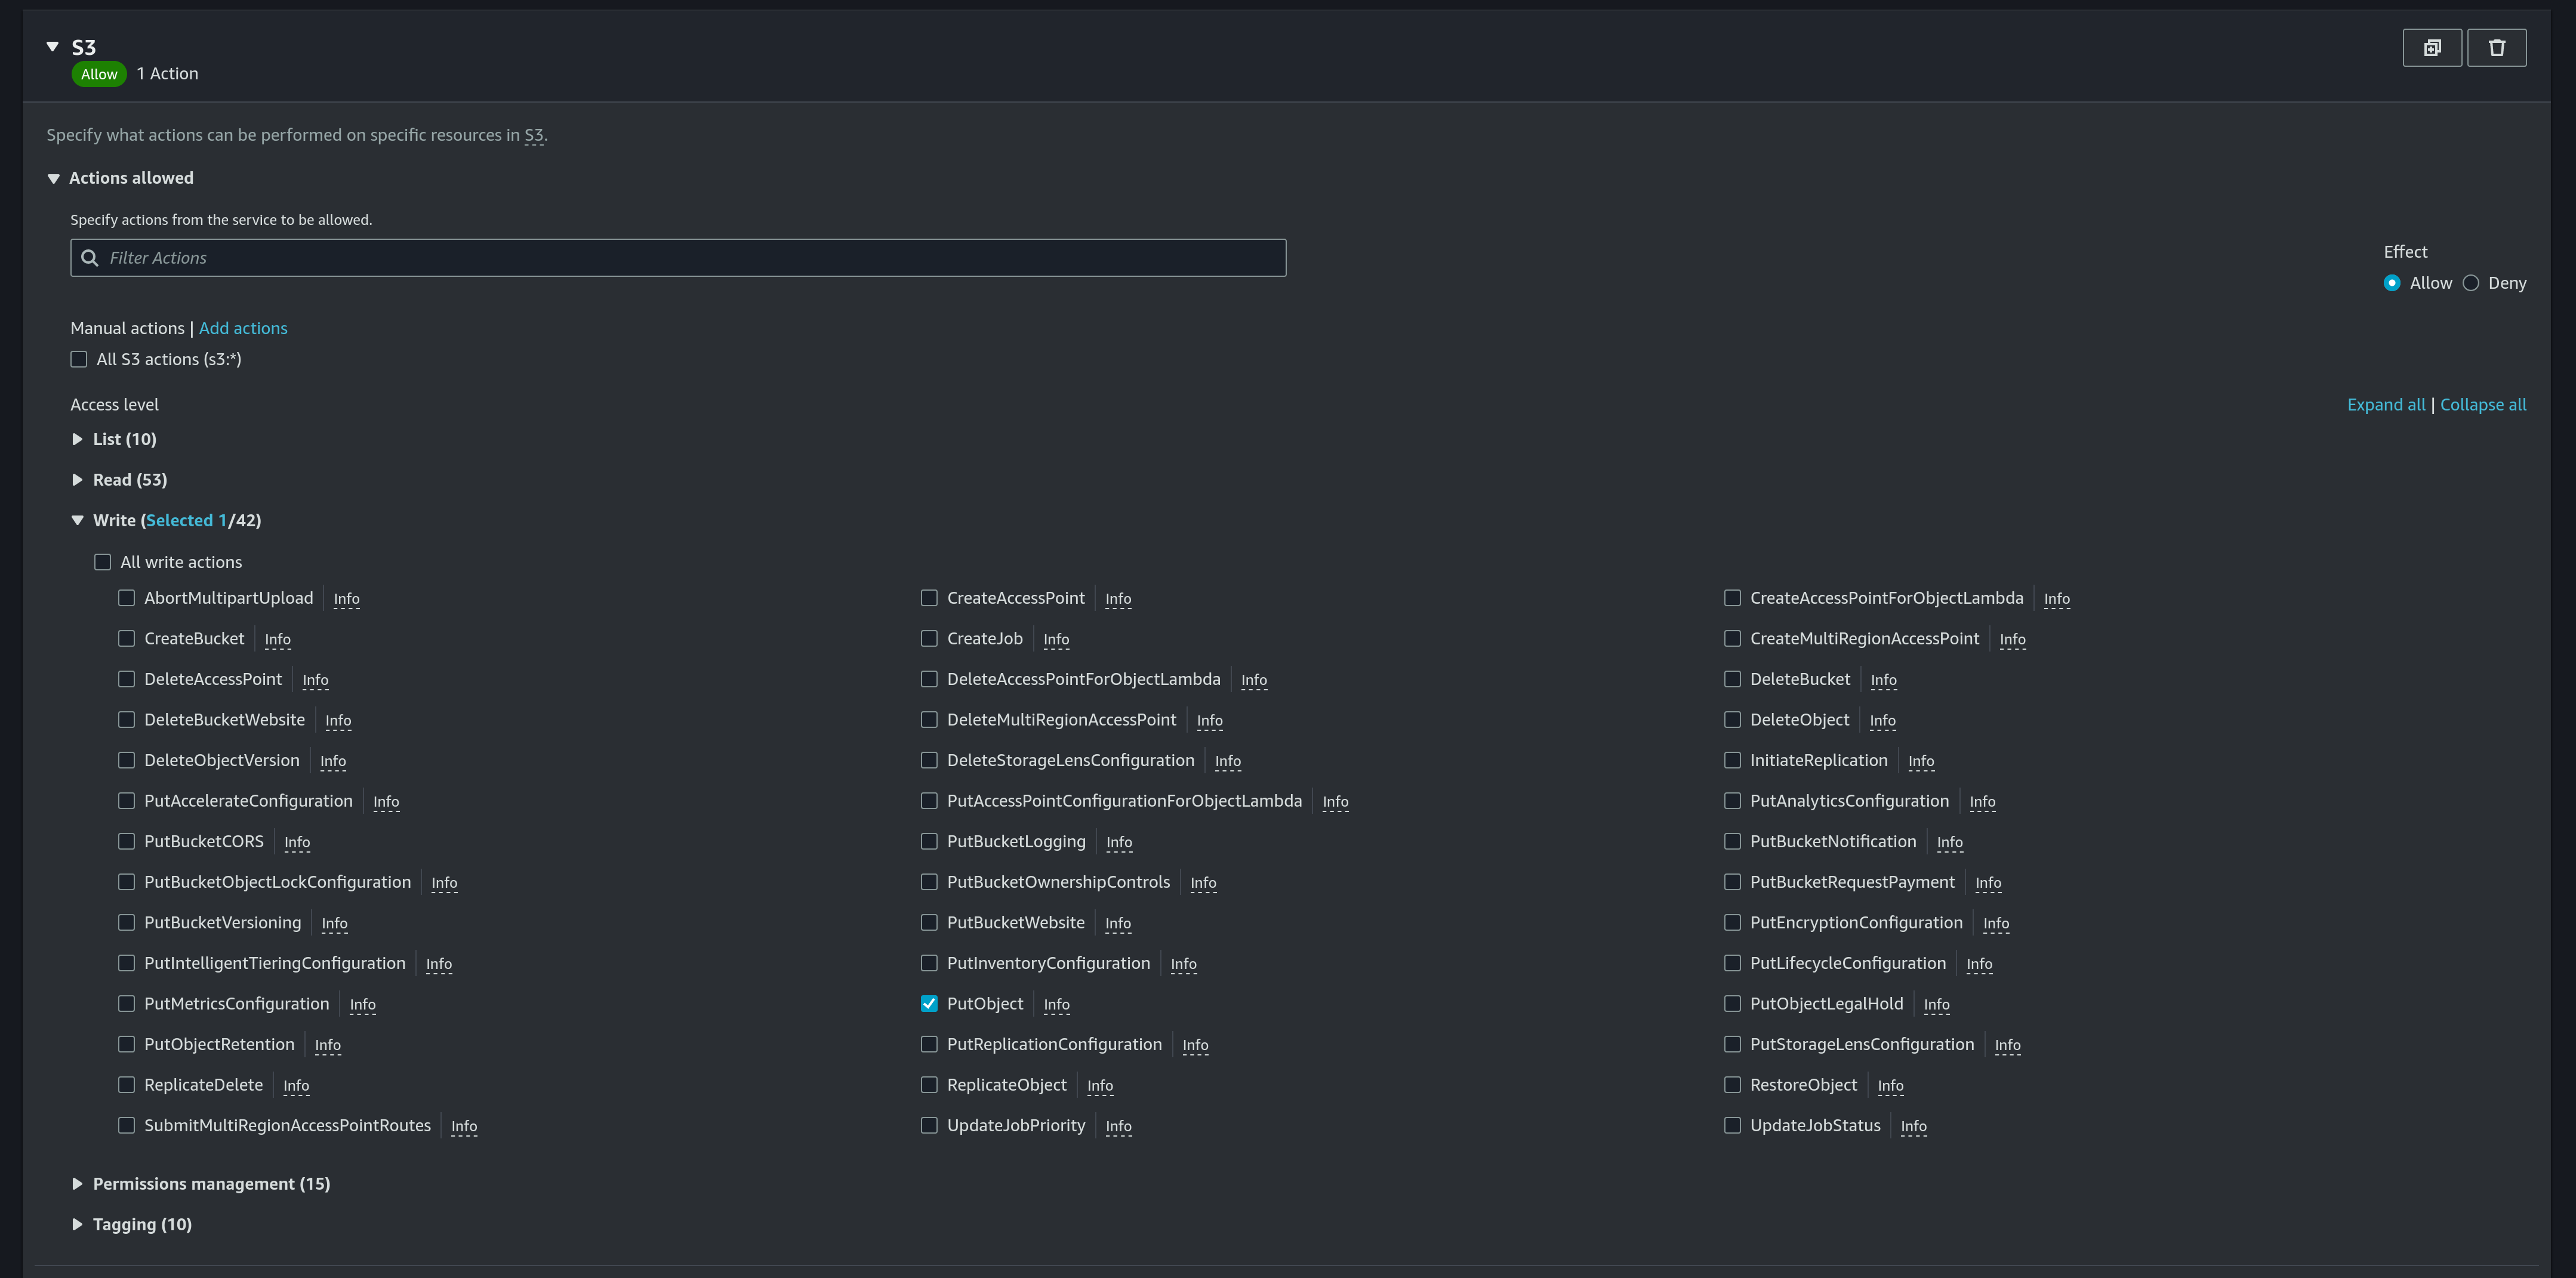
- Add a new ARN for
calendar-db-backupbucket anddatabase.db3file: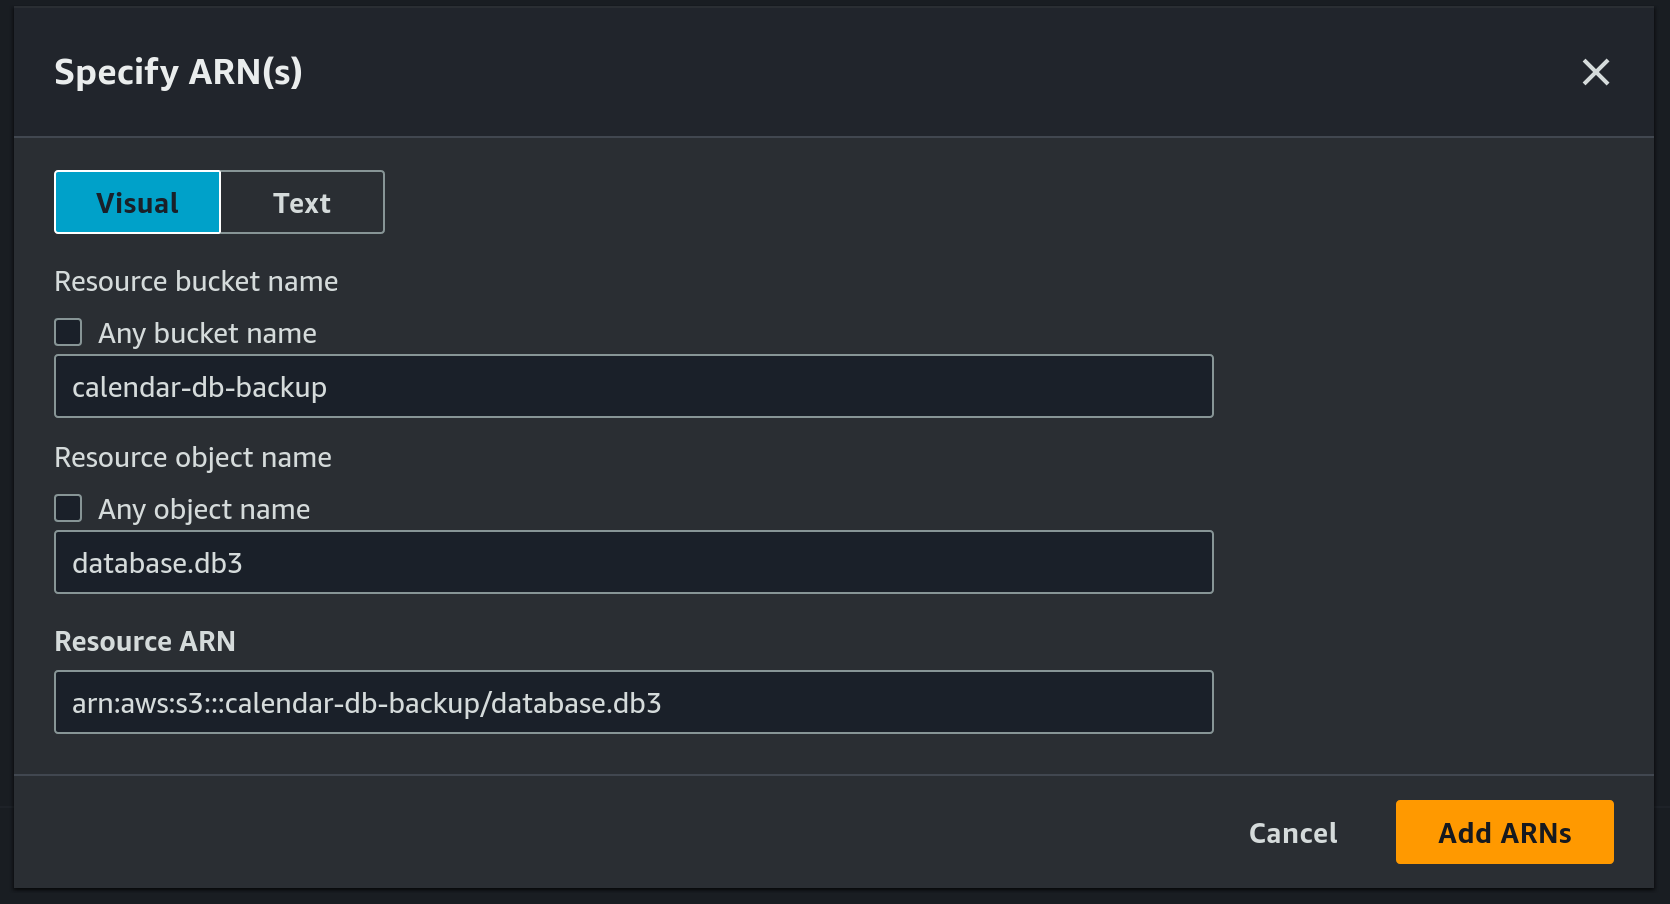
- Use
calendar_db_backupas the pollicy name: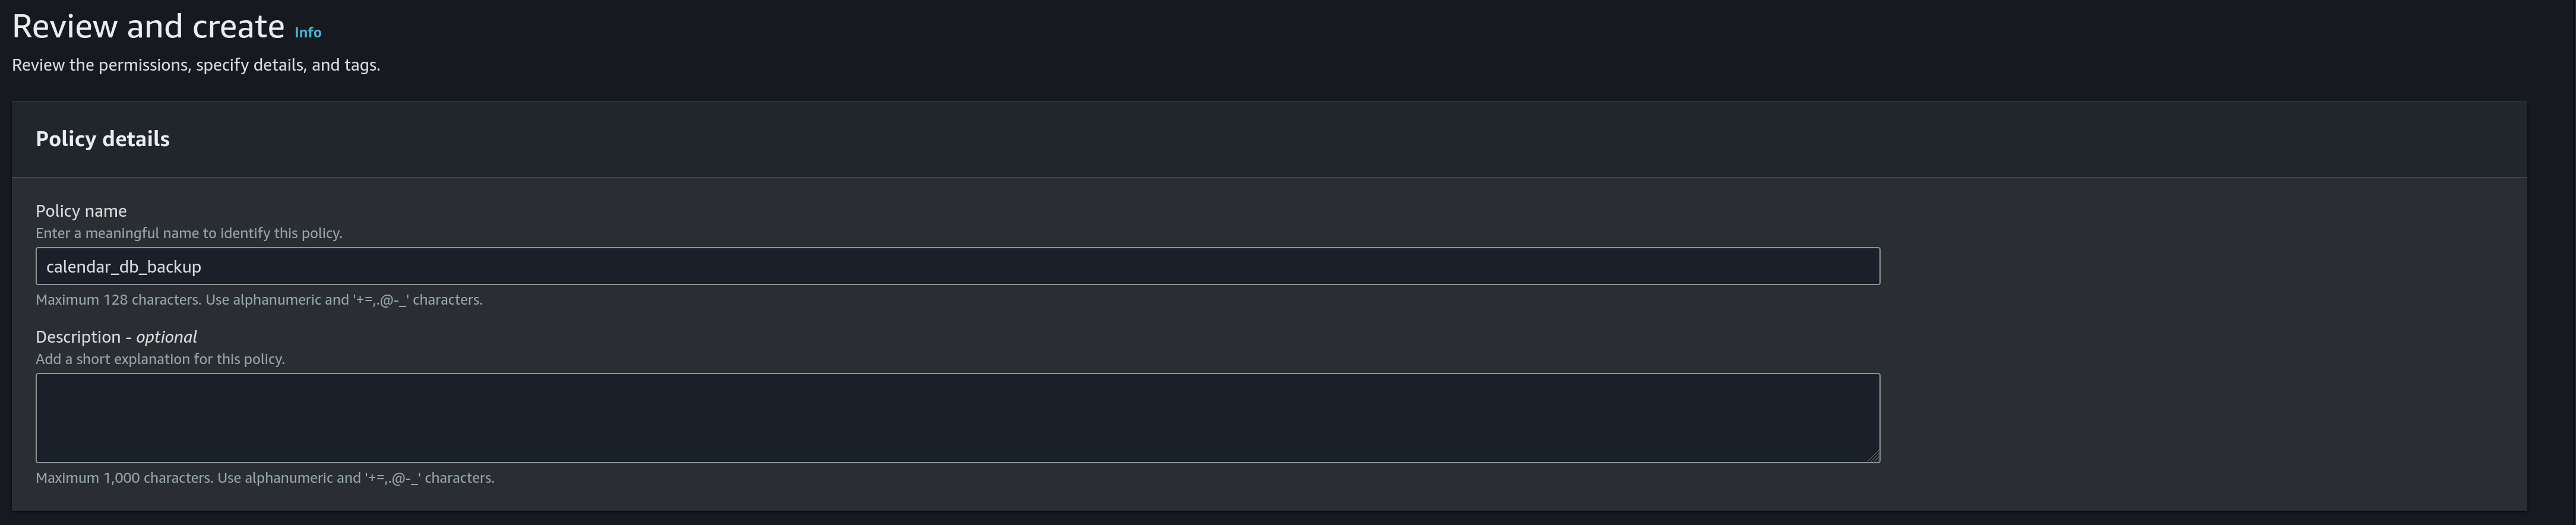
- Choose
- Create a new IAM role
- Choose
AWS serviceas the trusted entity type: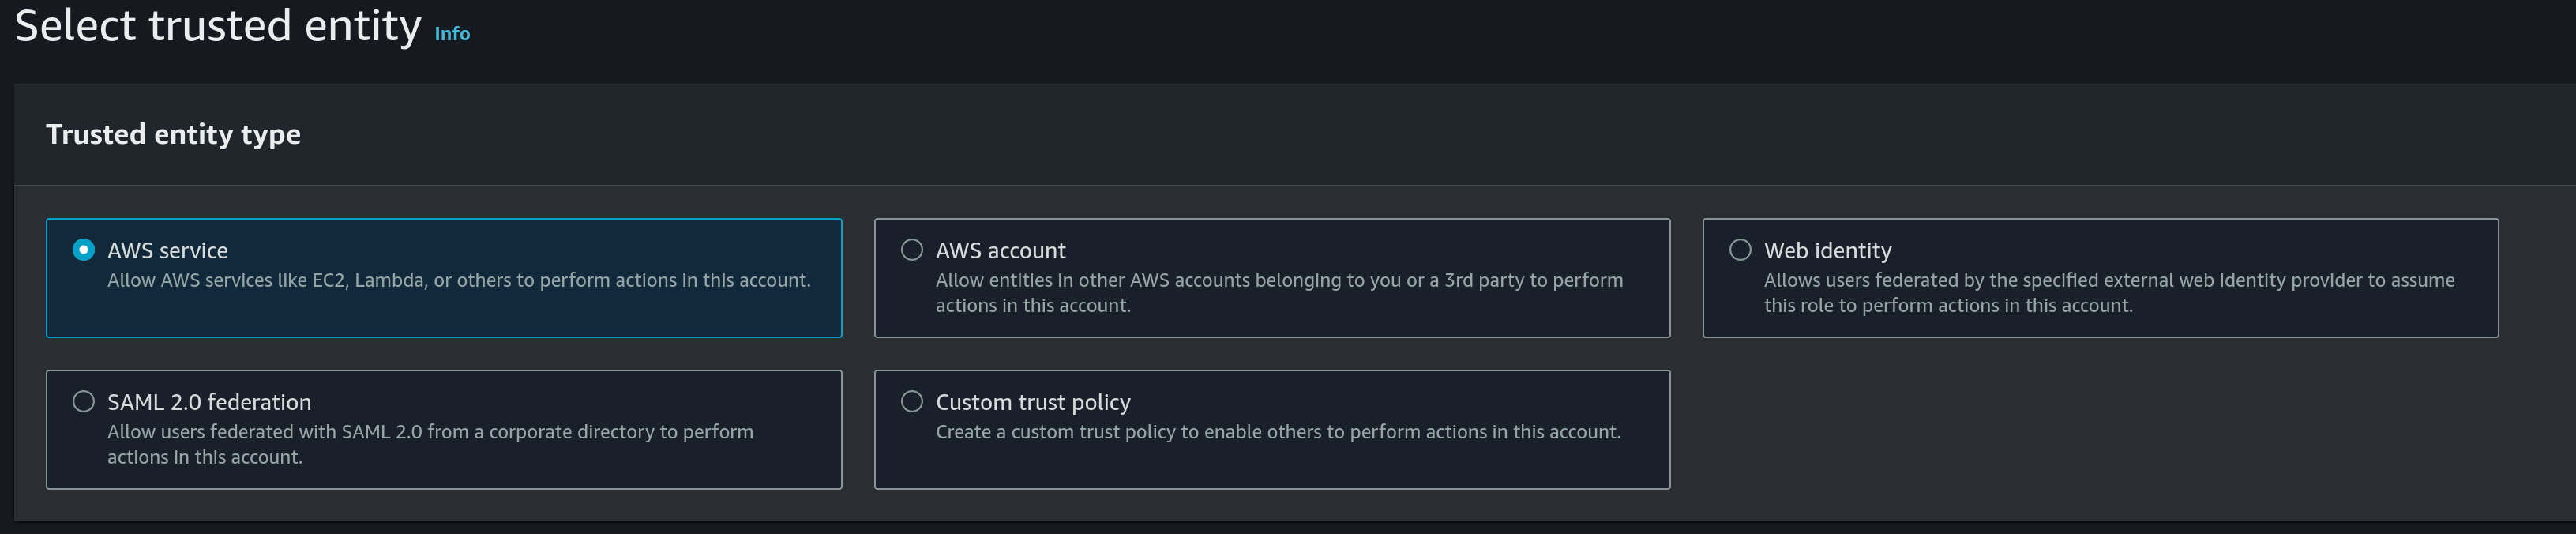
- Use
EC2as the use case: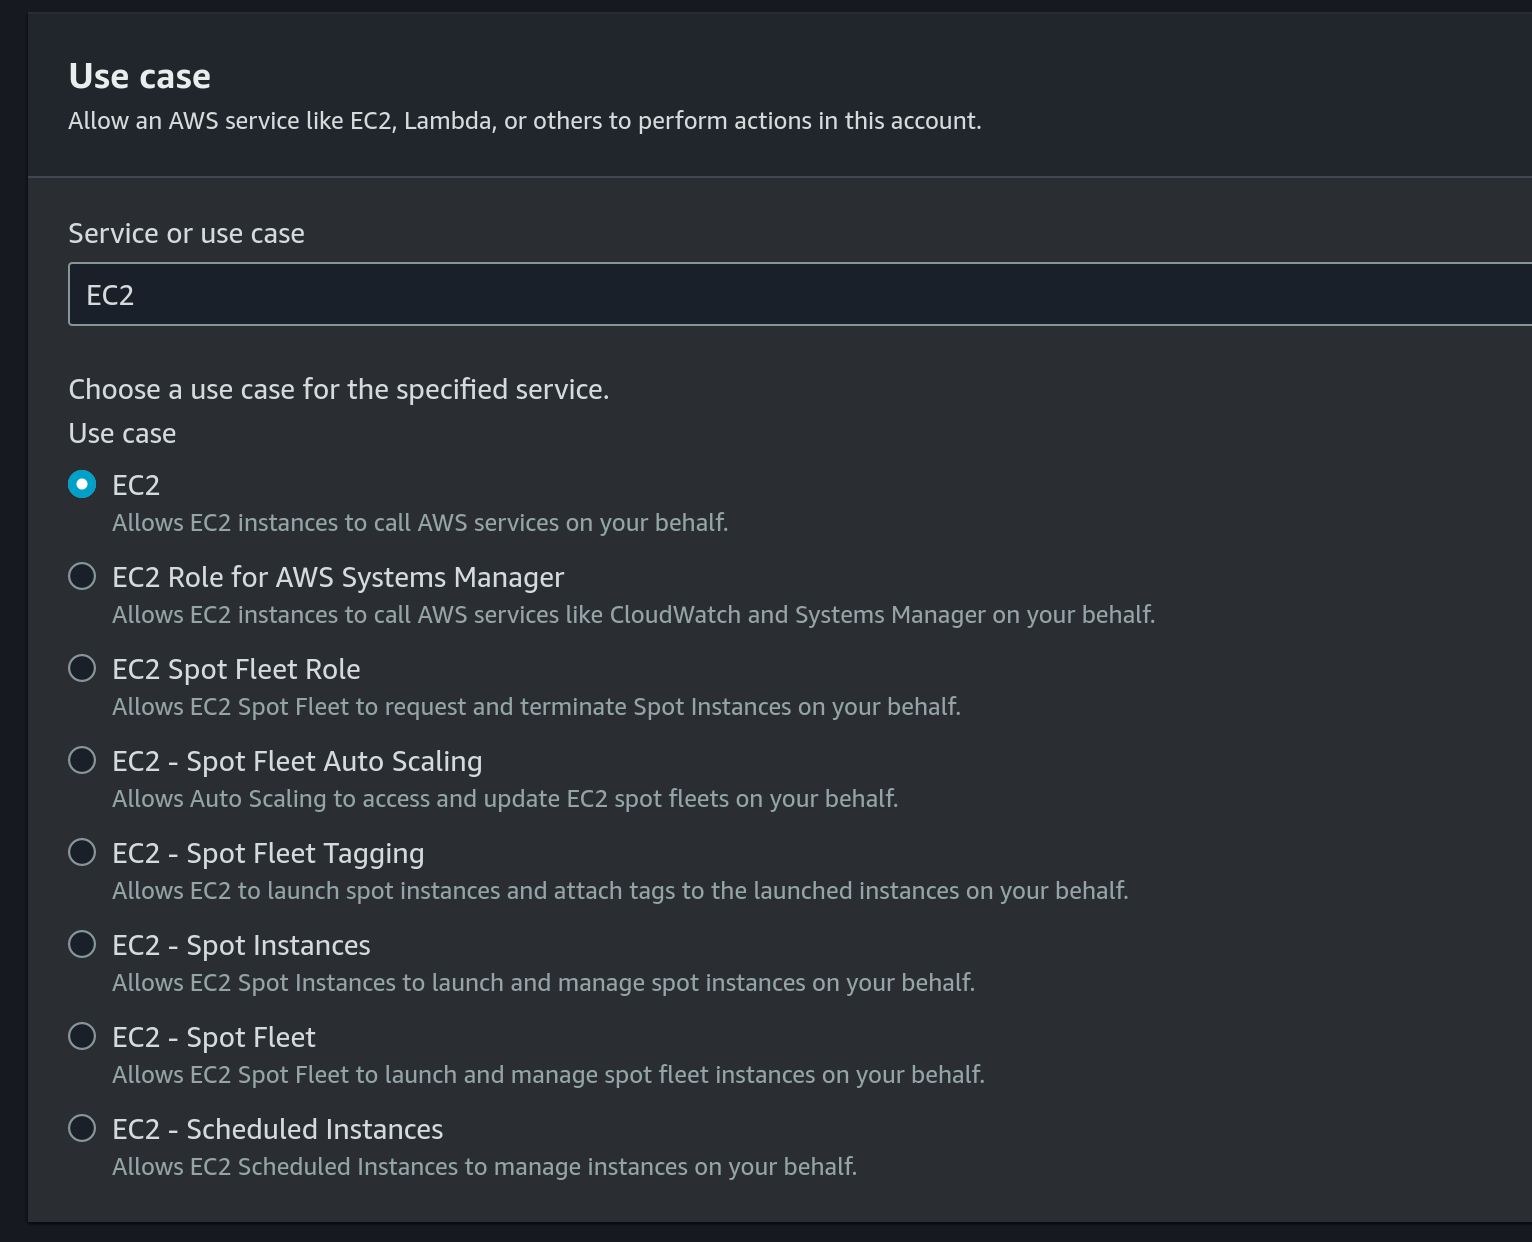
- Choose the previously created IAM Policy under permissions policies:
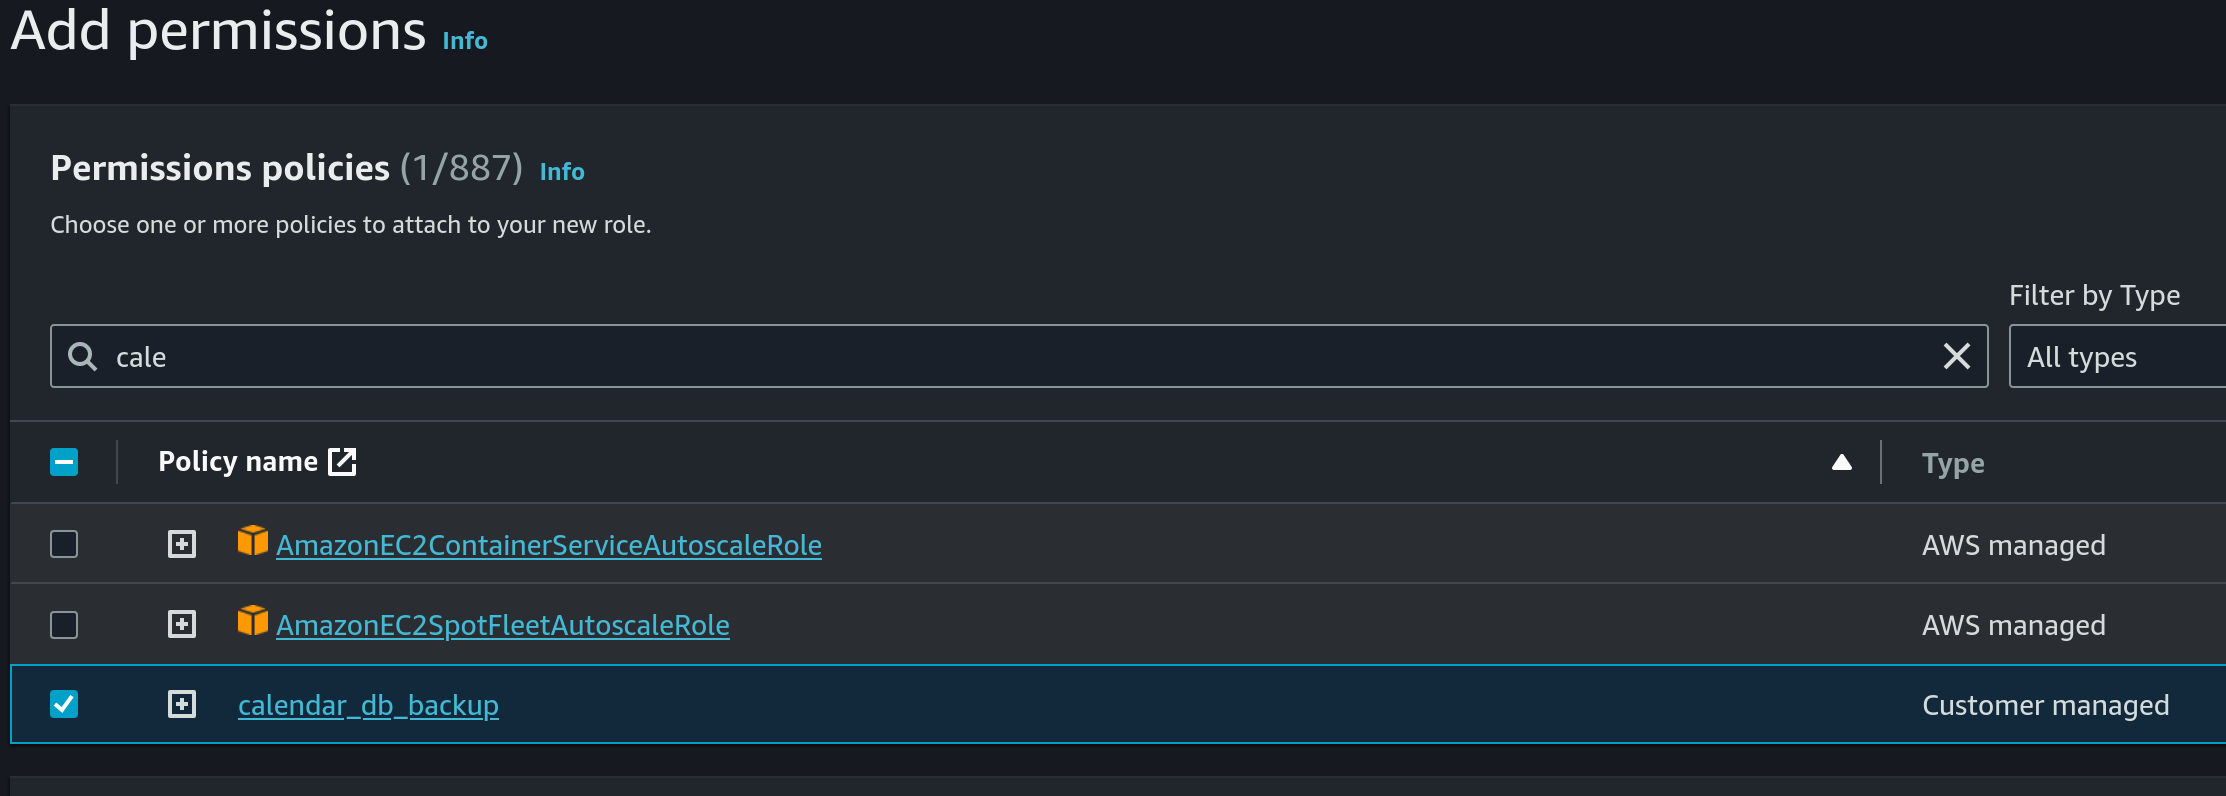
- Use
calendar_db_backupas the name: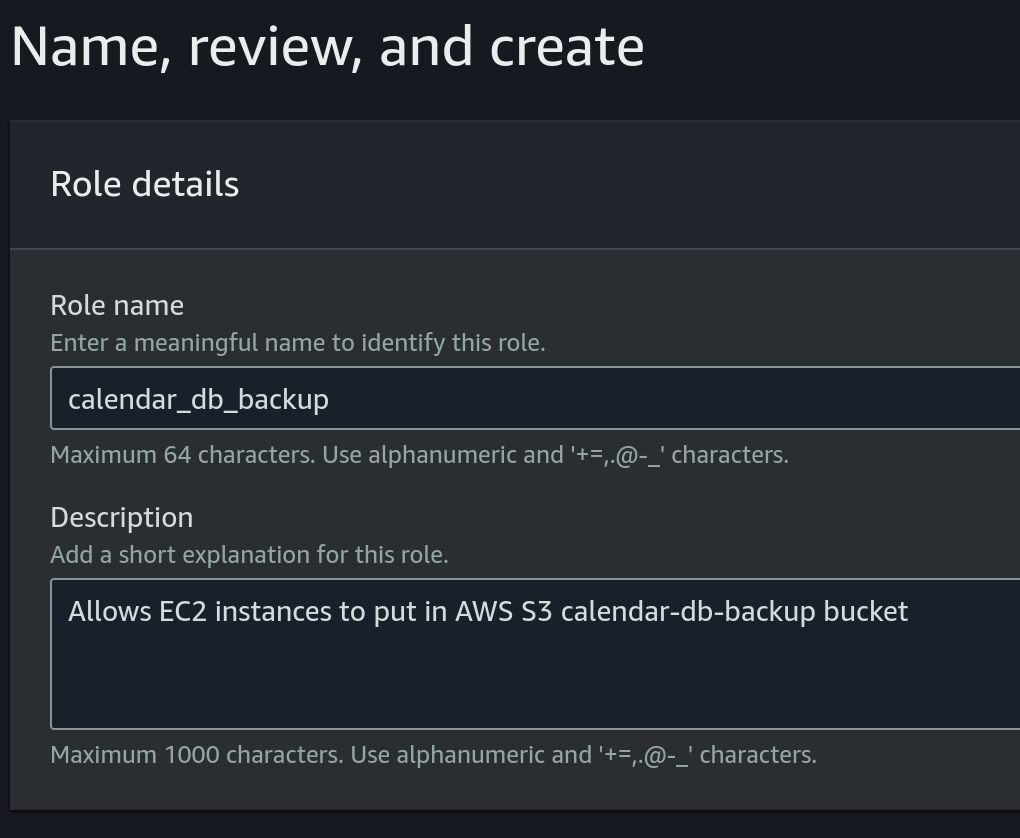
- Choose
- Attach role to EC2 instance:
- Choose the EC2 instance, then click on
Actions, then click onModify IAM roleunderSecurity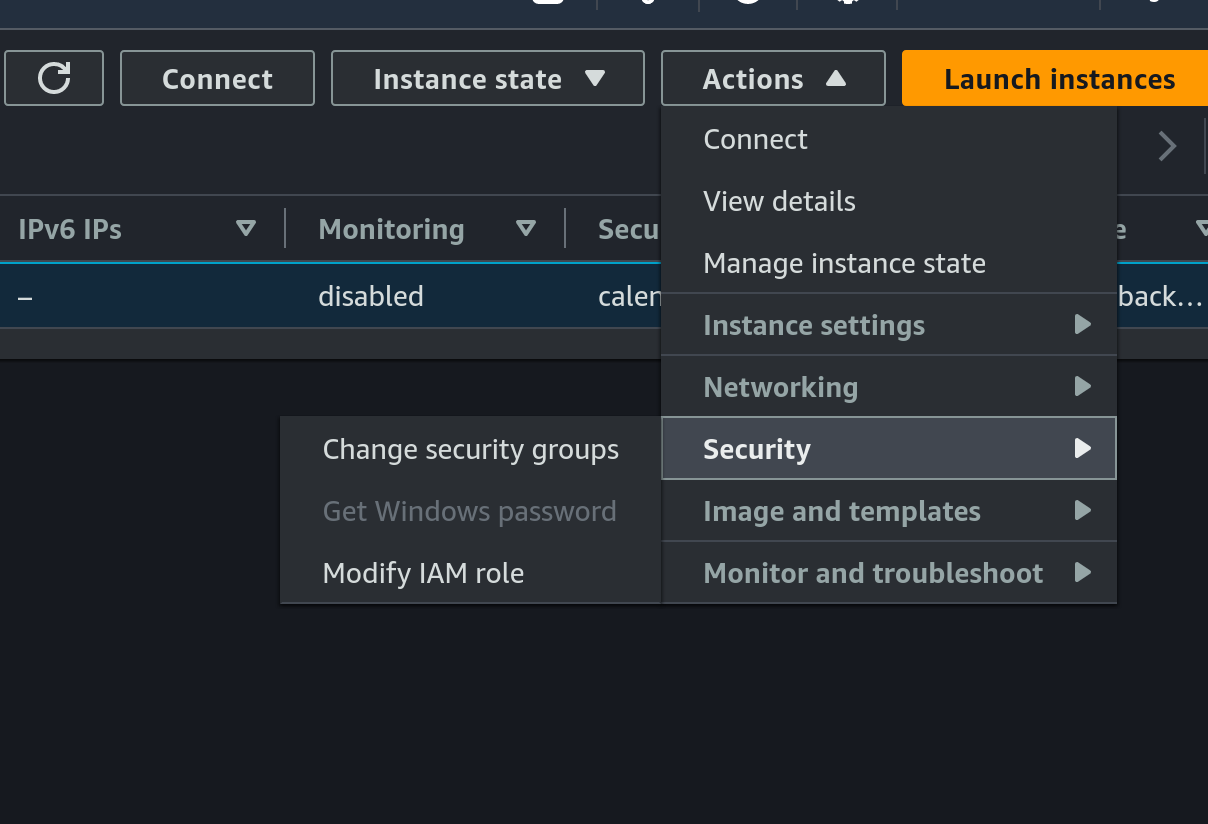
- Choose the previously created IAM role:
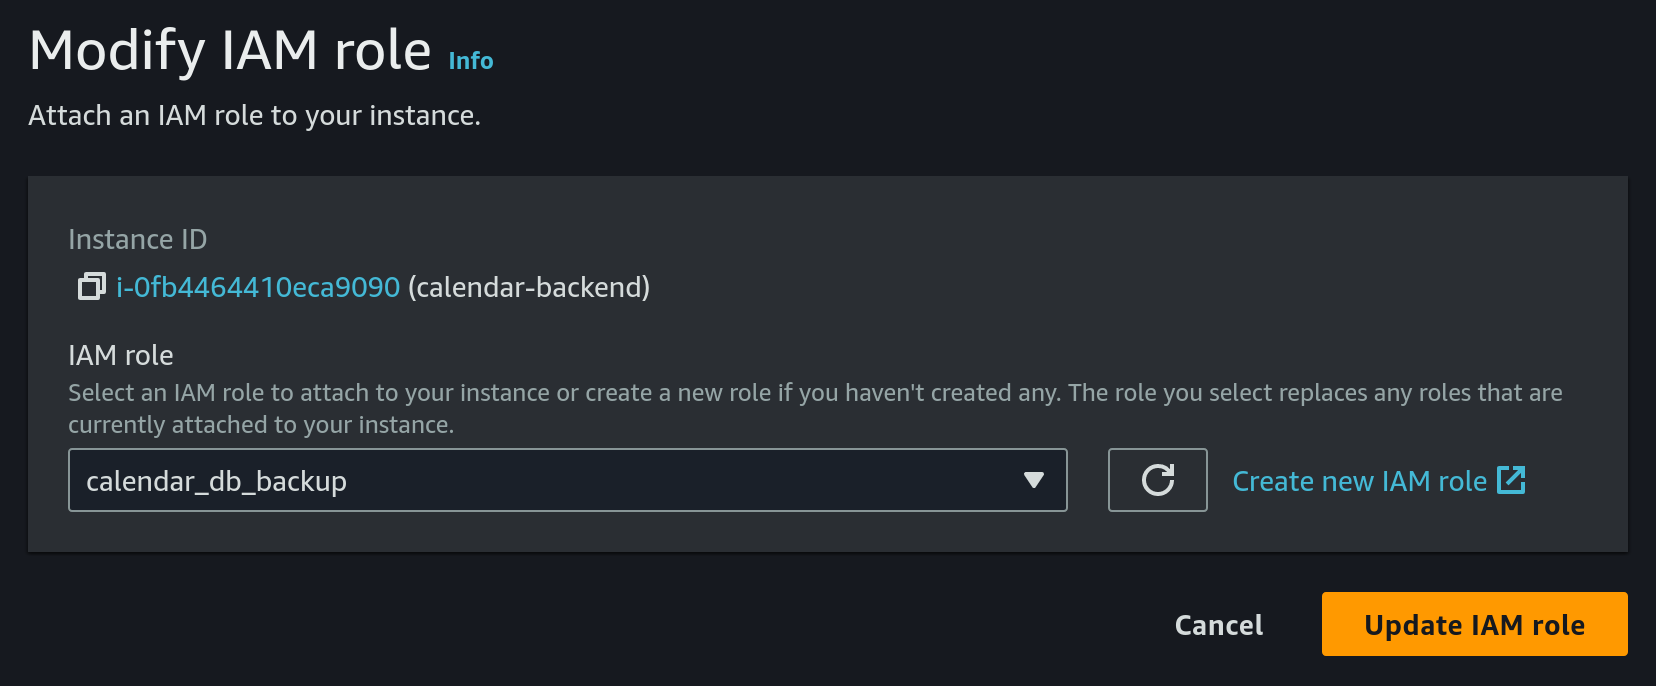
- Choose the EC2 instance, then click on
- Configure cron on EC2
- SSH into the EC2 machine
- Install
crondbecause it's not present by default:- install
croniesudo dnf install cronie - enable
crondsudo systemctl enable crond - check that
crondis running as expected
The result should look like:sudo systemctl status crond● crond.service - Command Scheduler Loaded: loaded (/usr/lib/systemd/system/crond.service; enabled; preset: enabled) Active: active (running) since Tue 2024-04-16 06:59:54 UTC; 4min 57s ago Main PID: 1858743 (crond) Tasks: 2 (limit: 510) ...
- install
- install sqlite
sudo yum install sqlite-devel - create a new file
db_backup.shin home directory (/home/ec2-user):cd /home/ec2-user sqlite3 database.db3 ".backup 'database_backup.db3'" aws s3 cp database.db3 s3://calendar-db-backup/database.db3 rm database_backup.db3 - give exec permissions to the previous file:
chmod +x db_backup.sh - run:
This will upload the database to S3 bucket every day at 00:00, 06:00, 12:00, 18:00 UTC timeecho "0 0,6,12,18 * * * root /home/ec2-user/db_backup.sh" | sudo tee -a /etc/crontab > /dev/null
- Choose
-
Configure the TLS certificate by following the tutorial from here.
Note that you will have to
sshinto the EC2 machine for setting the certificate. To do this we will need:- the private key from the key pair that we chose on instance creation from above
- the public DNS of our EC2 instance. This can be found in AWS console on instance details
- run the following command from a terminal:
ssh -i PATH_TO_SSH_KEY ec2-user@EC2_PUBLIC_DNS
Also make sure that the
calendar-backendis pointing to the correct certificate. -
Configure the deployment pipeline. For this we will have to update a few github secrets:
- SSH_PRIVATE_KEY - this should be the private key of the key pair configured on EC2 from above
- REMOTE_HOST - this should be the public DNS of our EC2 instance
- REMOTE_USER - set this to
ec2-user - CALENDAR_JWT_SIGNING_KEY - the secret key used by the
calendar-backendto sign jwt tokens
-
Finally we can trigger
Deploy to EC2workflow to deploycalendar-backendto the newly created EC2 instance
You can find a sequence diagram explaining the process of deploying to EC2 here.
ADRs
Use Markdown Any Decision Records
Context and Problem Statement
We want to record any decisions made in this project independent whether decisions concern the architecture ("architectural decision record"), the code, or other fields. Which format and structure should these records follow?
Considered Options
- MADR 3.0.0 – The Markdown Any Decision Records
- Michael Nygard's template – The first incarnation of the term "ADR"
- Sustainable Architectural Decisions – The Y-Statements
- Other templates listed at https://github.com/joelparkerhenderson/architecture_decision_record
- Formless – No conventions for file format and structure
Decision Outcome
Chosen option: "MADR 3.0.0", because
- Implicit assumptions should be made explicit. Design documentation is important to enable people understanding the decisions later on. See also A rational design process: How and why to fake it.
- MADR allows for structured capturing of any decision.
- The MADR format is lean and fits our development style.
- The MADR structure is comprehensible and facilitates usage & maintenance.
- The MADR project is vivid.
status: accepted
date: 2023-09-03
calendar-backend CI/CD pipeline
Context and Problem Statement
We want to fully automate the process of deployment of calendar-backend.
On every commit on master branch, a new version of the application should be deployed in production.
On every commit on any branch, the application is compiled and all the tests are executed. No merge is allowed if at least one test fails.
Considered Options
JenkinsGithub ActionswithAWS CodeDeployGithub ActionswithSSHandrsync
Decision Outcome
Chosen option: Github Actions with SSH and rsync
This option was chosen because it is the simplest one, so it allowed us to achieve a functional CI/CD pipeline faster.
Confirmation
Implementation of the ADR was confirmed through a PR review in #3
Pros and Cons of the Options
Jenkins
Deploy a self-managed Jenkins instance, connect to Github, and react to events from Github.
On every commit on any branch, build the app, then run all the tests.
On commit on master branch, deploy the new version on EC2.
- Good, because this is the most configurable option. Jenkins allows to configure the Pipeline however we need
- Good, becauses there is no limit in number of builds, we can run as often as we need
- Bad, because we need to host the
Jenkinsinstance somewhere, and this may imply additional costs - Bad, because we need to maintain the instance up to date and healthy all the time, and this may imply additional effort in the future
- Bad, because it will slow us down, we need to configure and run the
Jenkinsinstance before starting to configure the CI/CD pipeline itself
Github Actions with AWS CodeDeploy
See the details in the article: link
- Good, because we don't manage any services, Github Actions can be used out of the box
- Good, because it decouples from any particular
EC2instance, soEC2instances can be killed at any moment without disruption - Bad, because we need to configure additional
AWSservices, which makes us more coupled withAWS - Bad, because we need to configure multiple
AWSservices, which will slow us down - Bad, because we need to configure multiple
AWSservices, which may imply additional costs
Github Actions with SSH and rsync
Explained through a sequence diagram:
sequenceDiagram
    autonumber
    actor D as Developer
    participant G as Github
    D->>G: merge PR to `master`
    participant GA as Github Actions
    G->>GA: trigger `Deploy to EC2` workflow
    activate GA
    participant EC2
    GA->>EC2: rsync
    Note right of GA: upload the new binary to EC2
    GA->>EC2: kill the current instance of `calendar-backend`
    GA->>EC2: start the newly uploaded binary
    GA-->>G: mark commit as successful
    deactivate GA
The implementation can be found in the git repo: link
- Good, because we don't manage any services, Github Actions can be used out of the box
- Good, because we don't couple to
AWStoo much - Good, because it is a simple solution which can be implemented fast
- Bad, because it is fragile, every time the
EC2instance is restarted and changes theIPaddress, the CI/CD pipeline breaks, because we are connecting directly to the instance