Deploy calendar-backend to EC2
Currently, the calendar-backend is deployed to EC2.
This guide will describe how to deploy on a new EC2 machine and how to configure the deployment pipeline.
-
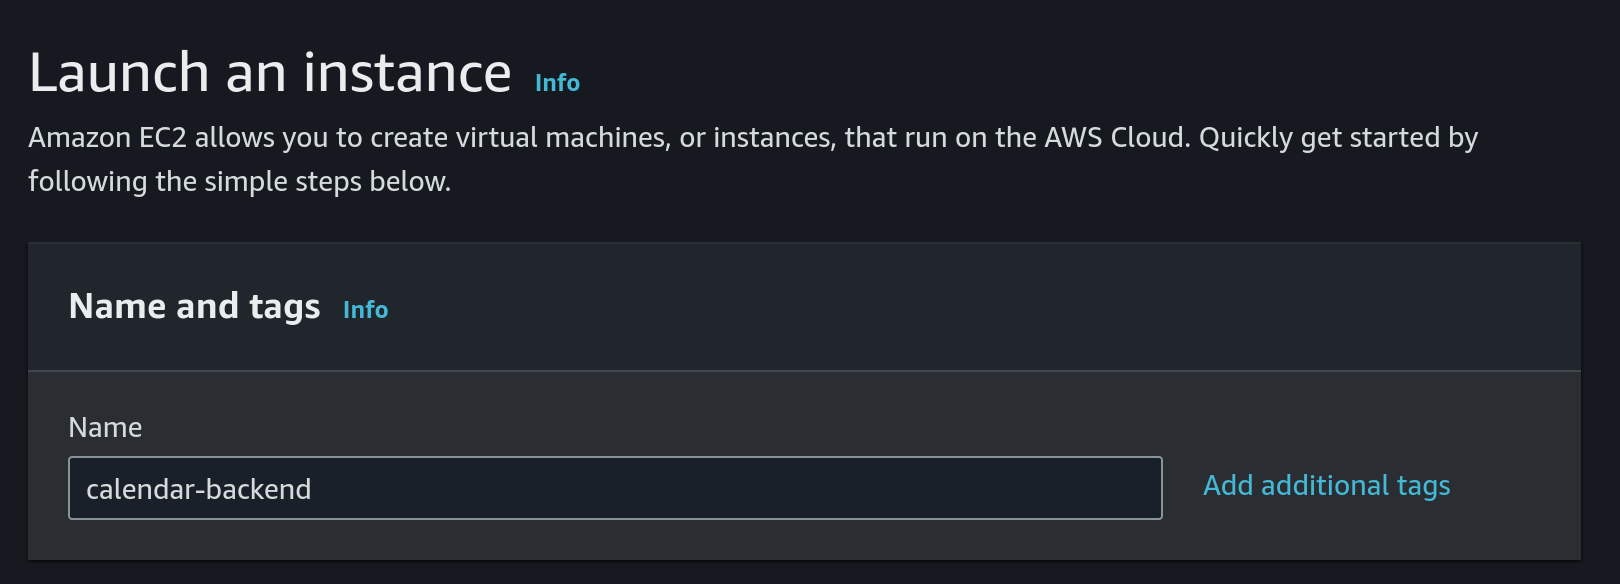
First we need to launch a new EC2 instance
- Choose
Amazon Linuxas OS and a 64 bit architecture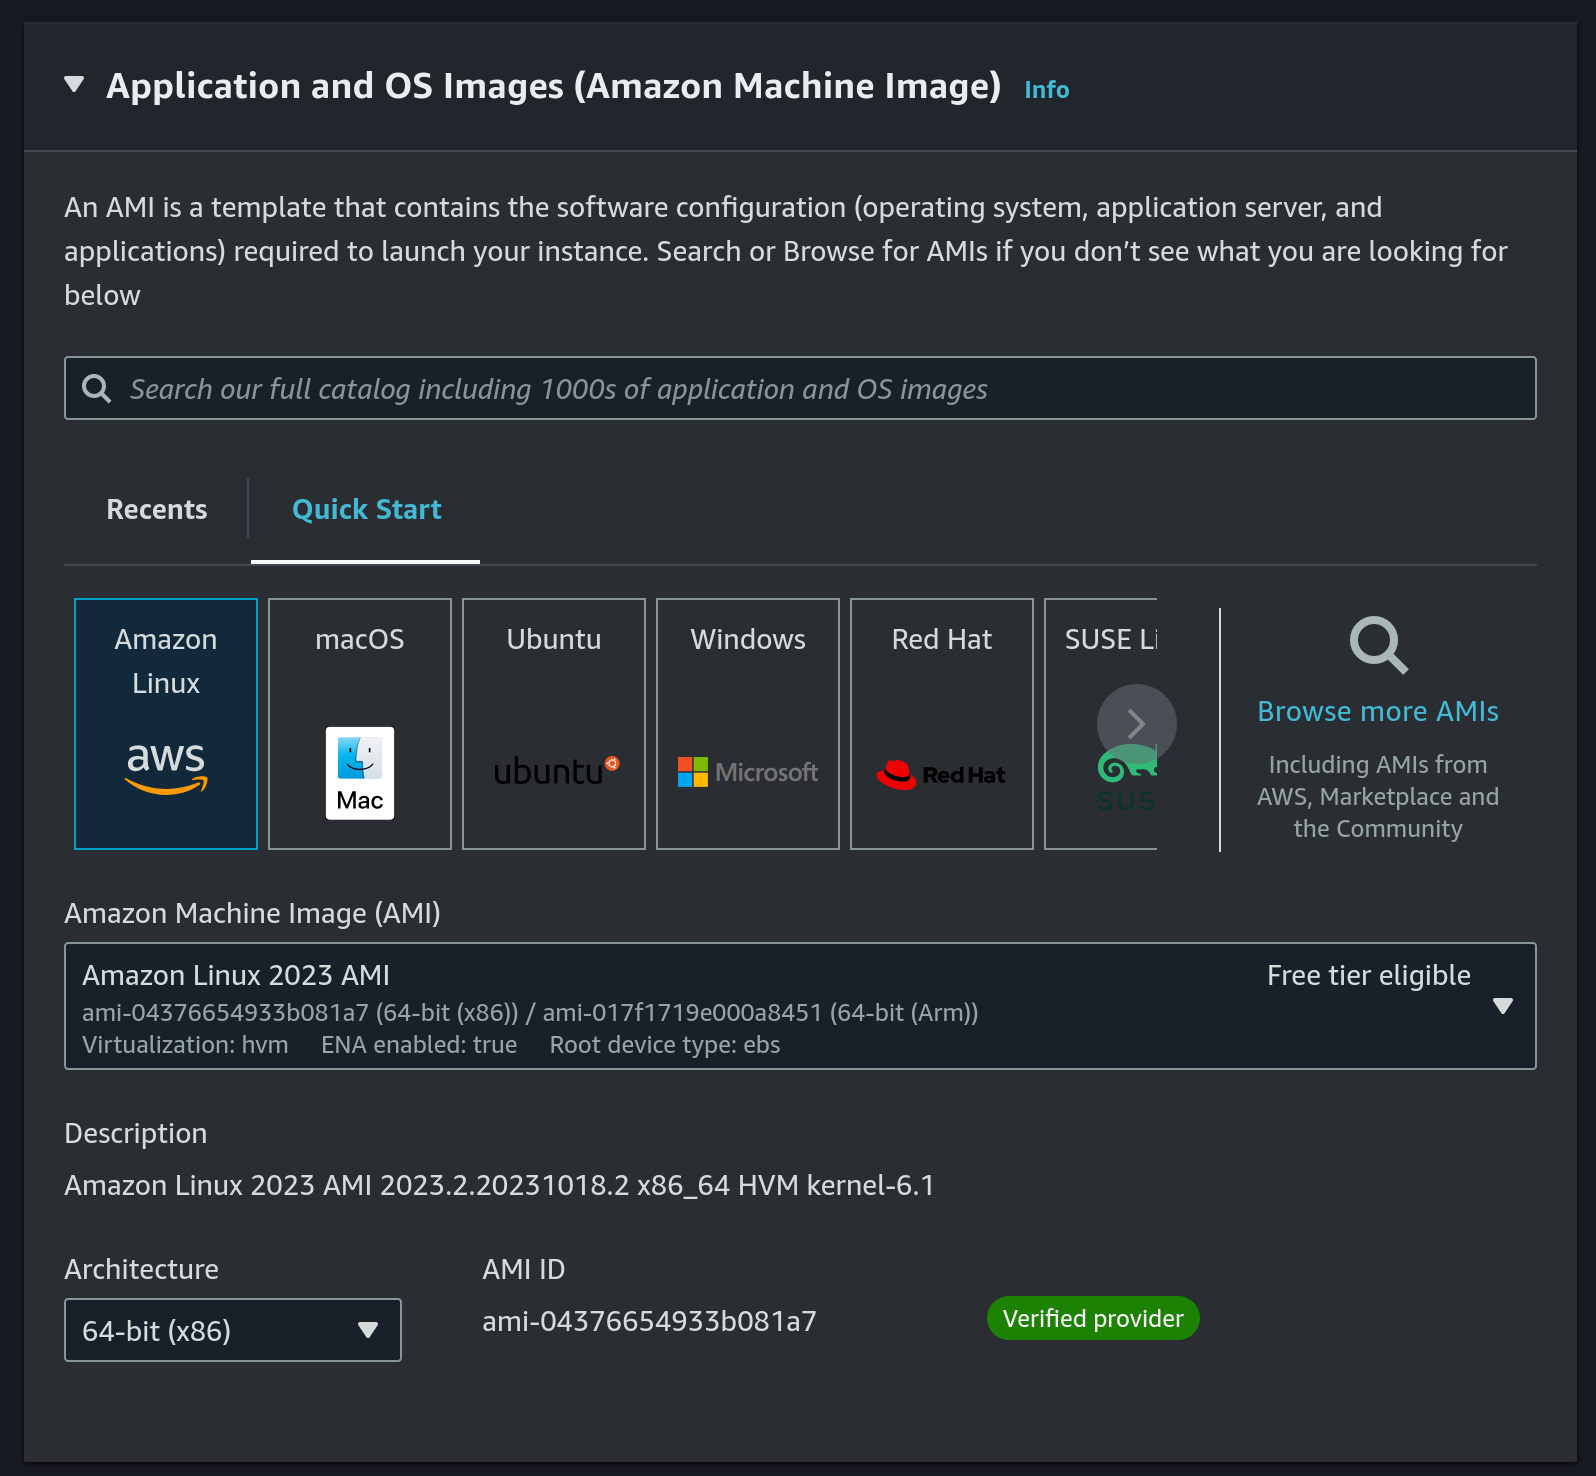
- Instance type:
t2.nano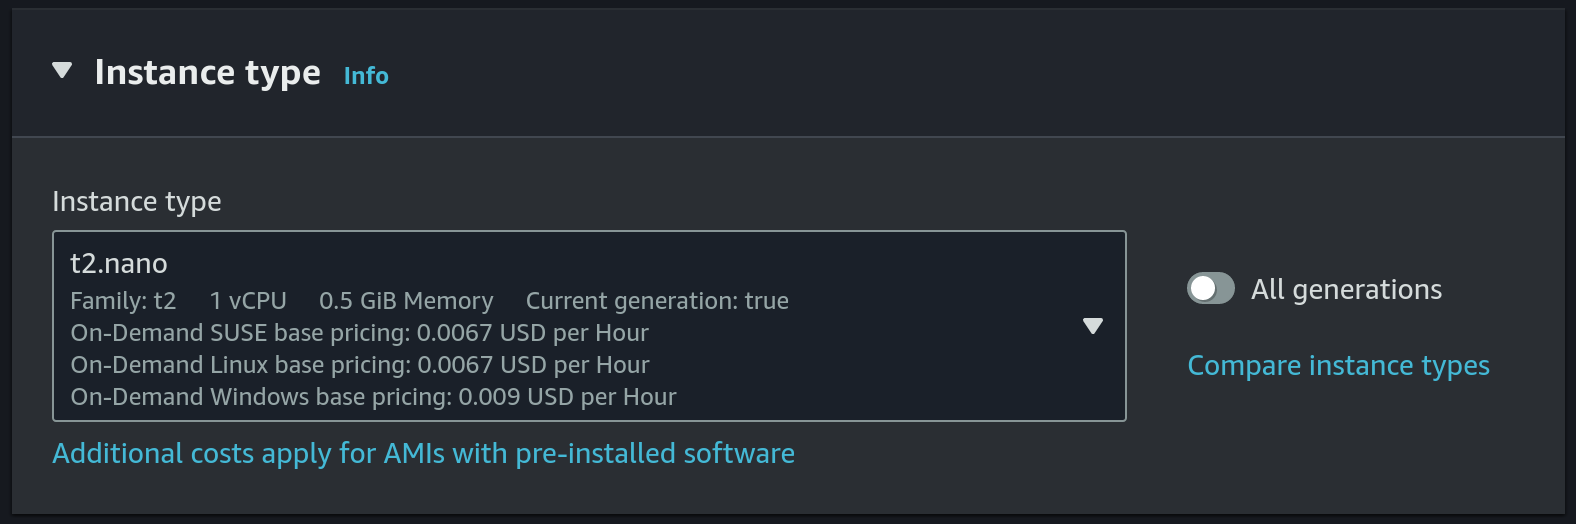 This is the cheapest and smallest instance type.
 - Choose
calendar-backendas the key pair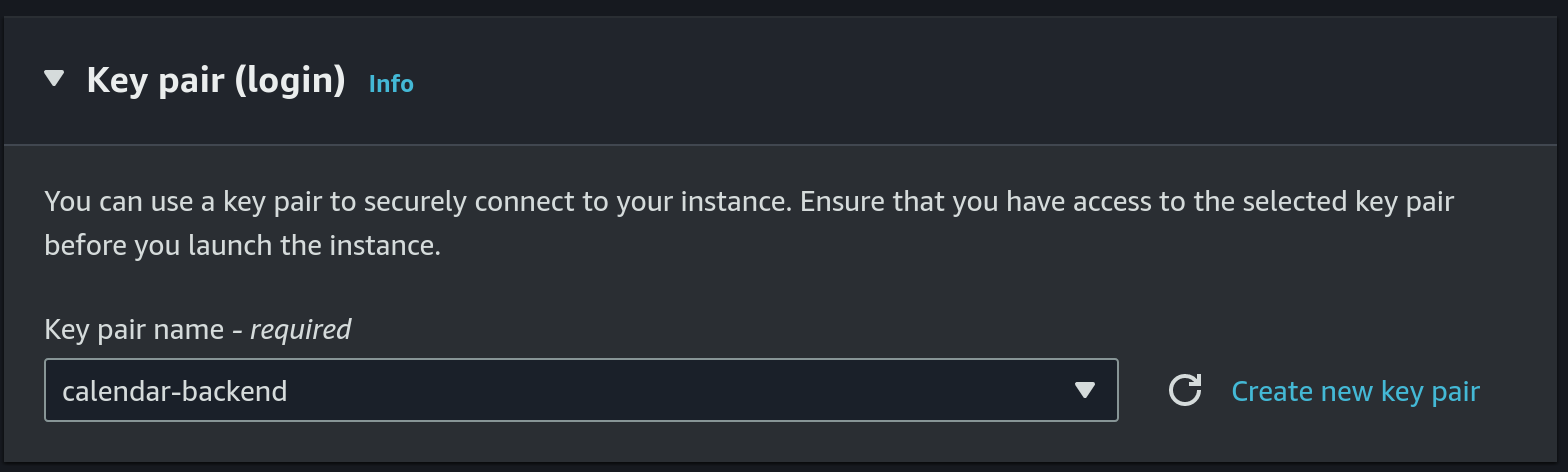 Or we can create a new key pair, just make sure to update the github secret (details will follow in a step below).
 - Use
calendar-backendsecurity group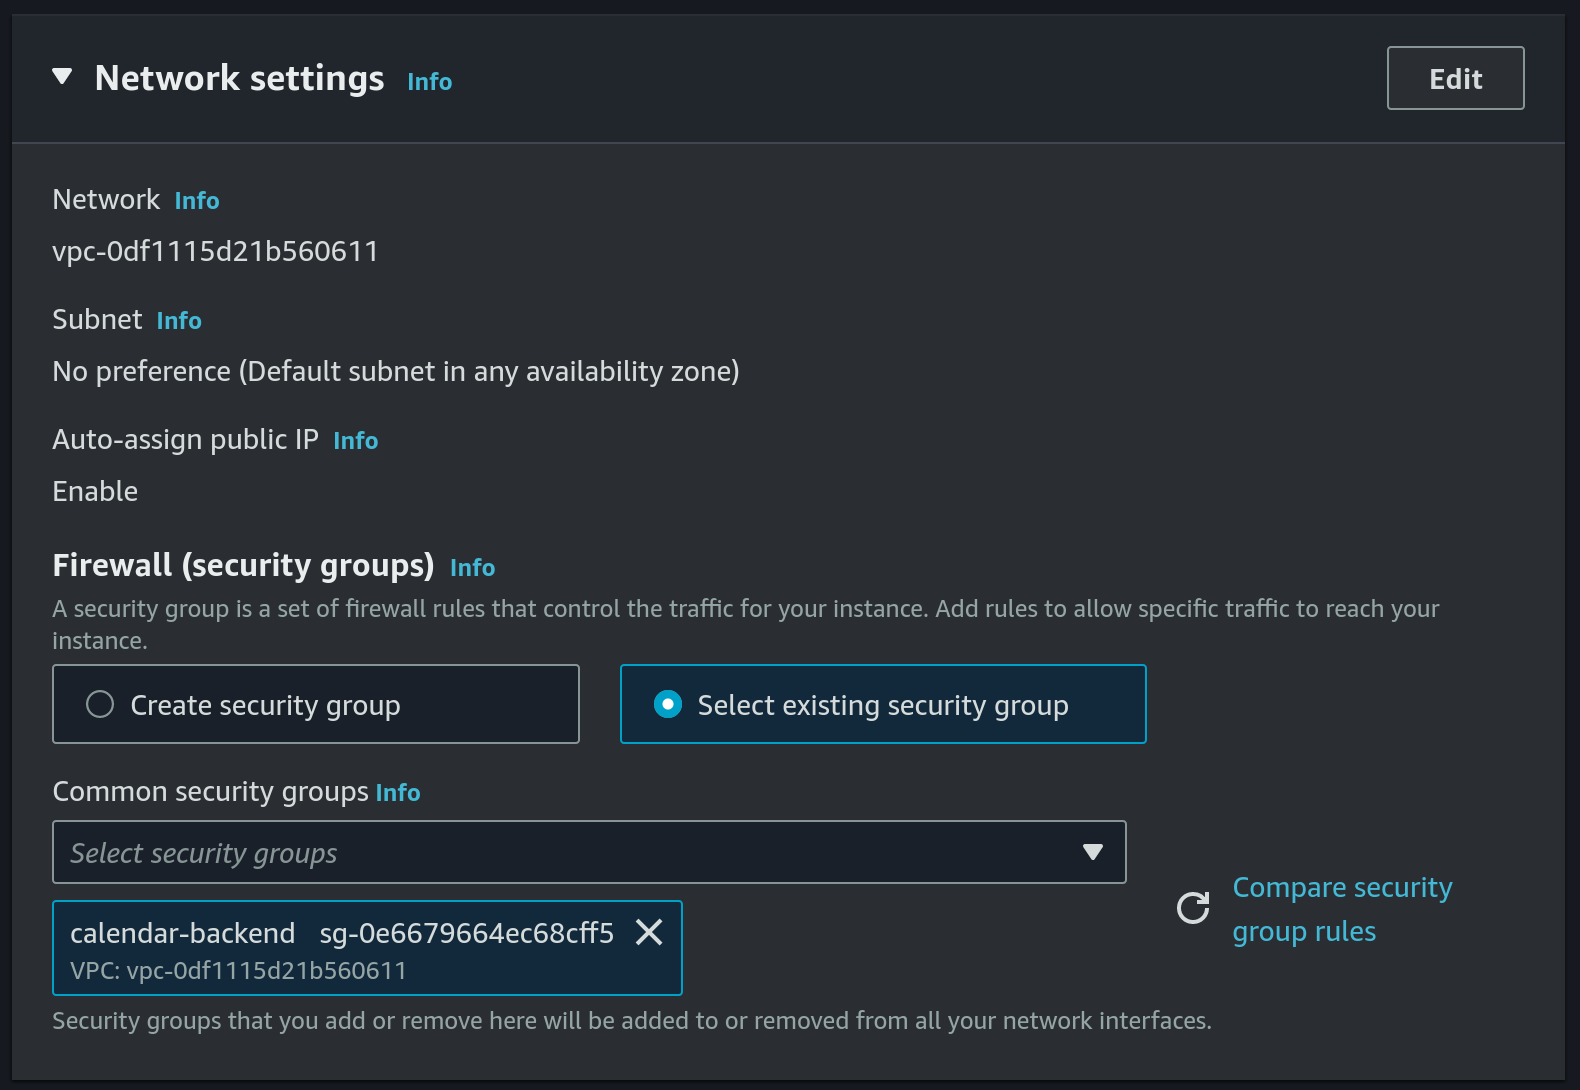 Or we can create a new security group, we will need the following ports to be added under the inbound rules:
22-SSHport used by our github-actions workflow to deploy new version ofcalendar-backend80- used by certbot to renew the TLS certificate (details will follow in a step below)8080- this is the port thatcalendar-backenduses
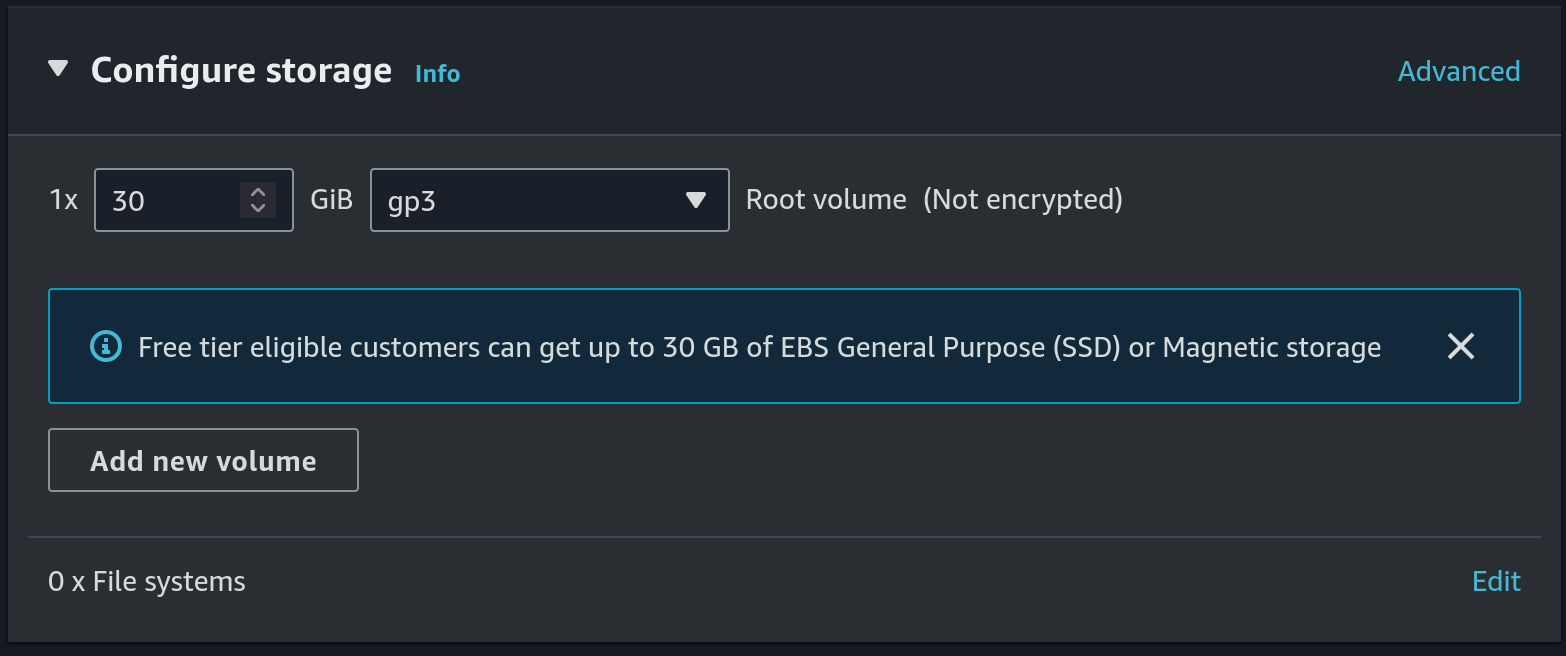
- Allocate a 30 GB gp3 disk
- Create S3 bucket for DB backup
- Set
calendar-db-backupas the name and useeu-central-1as the region: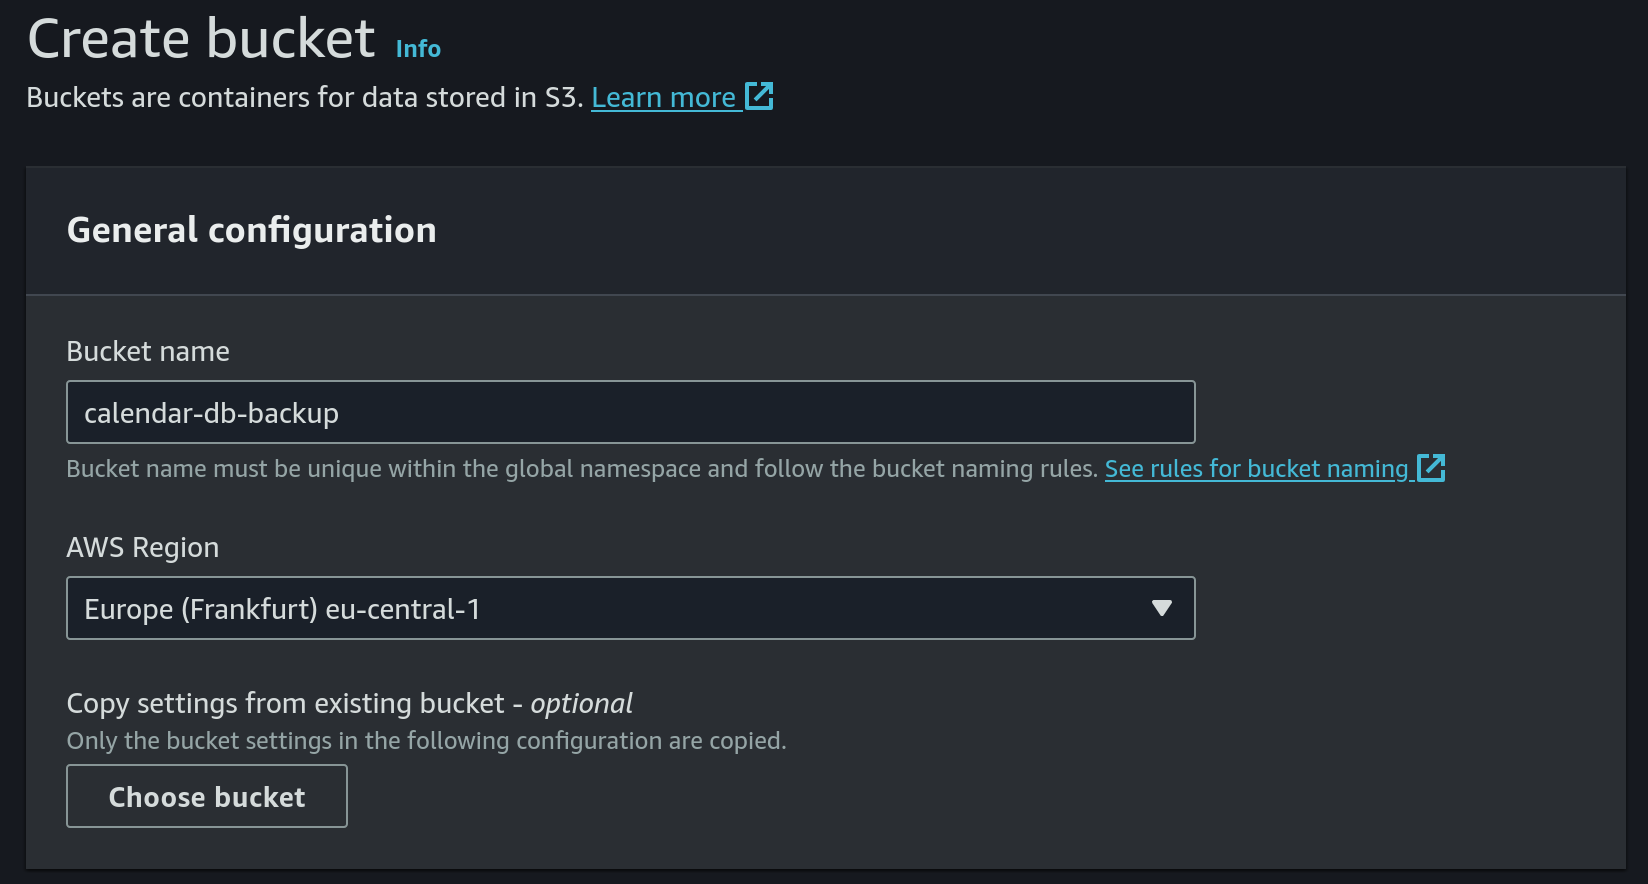
- Keep
ACLs disabledas object ownership option: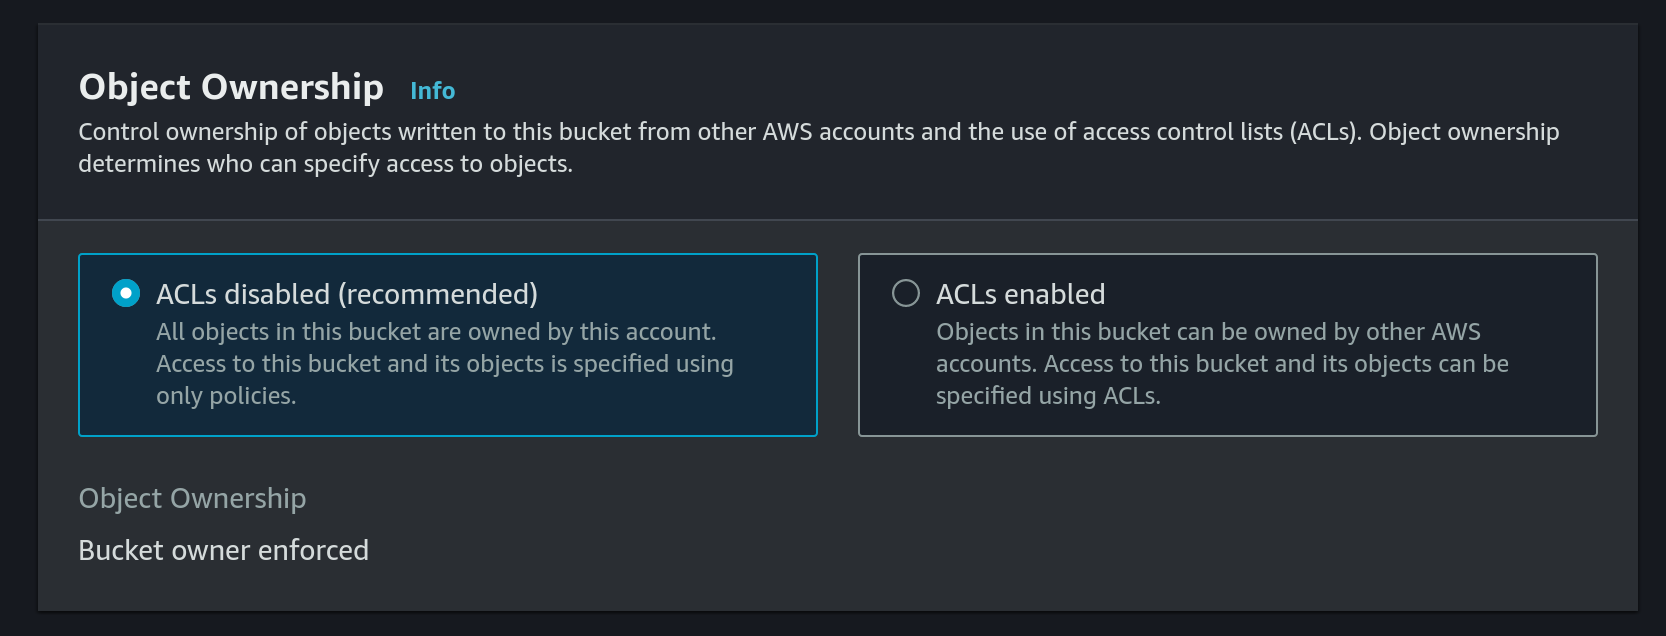
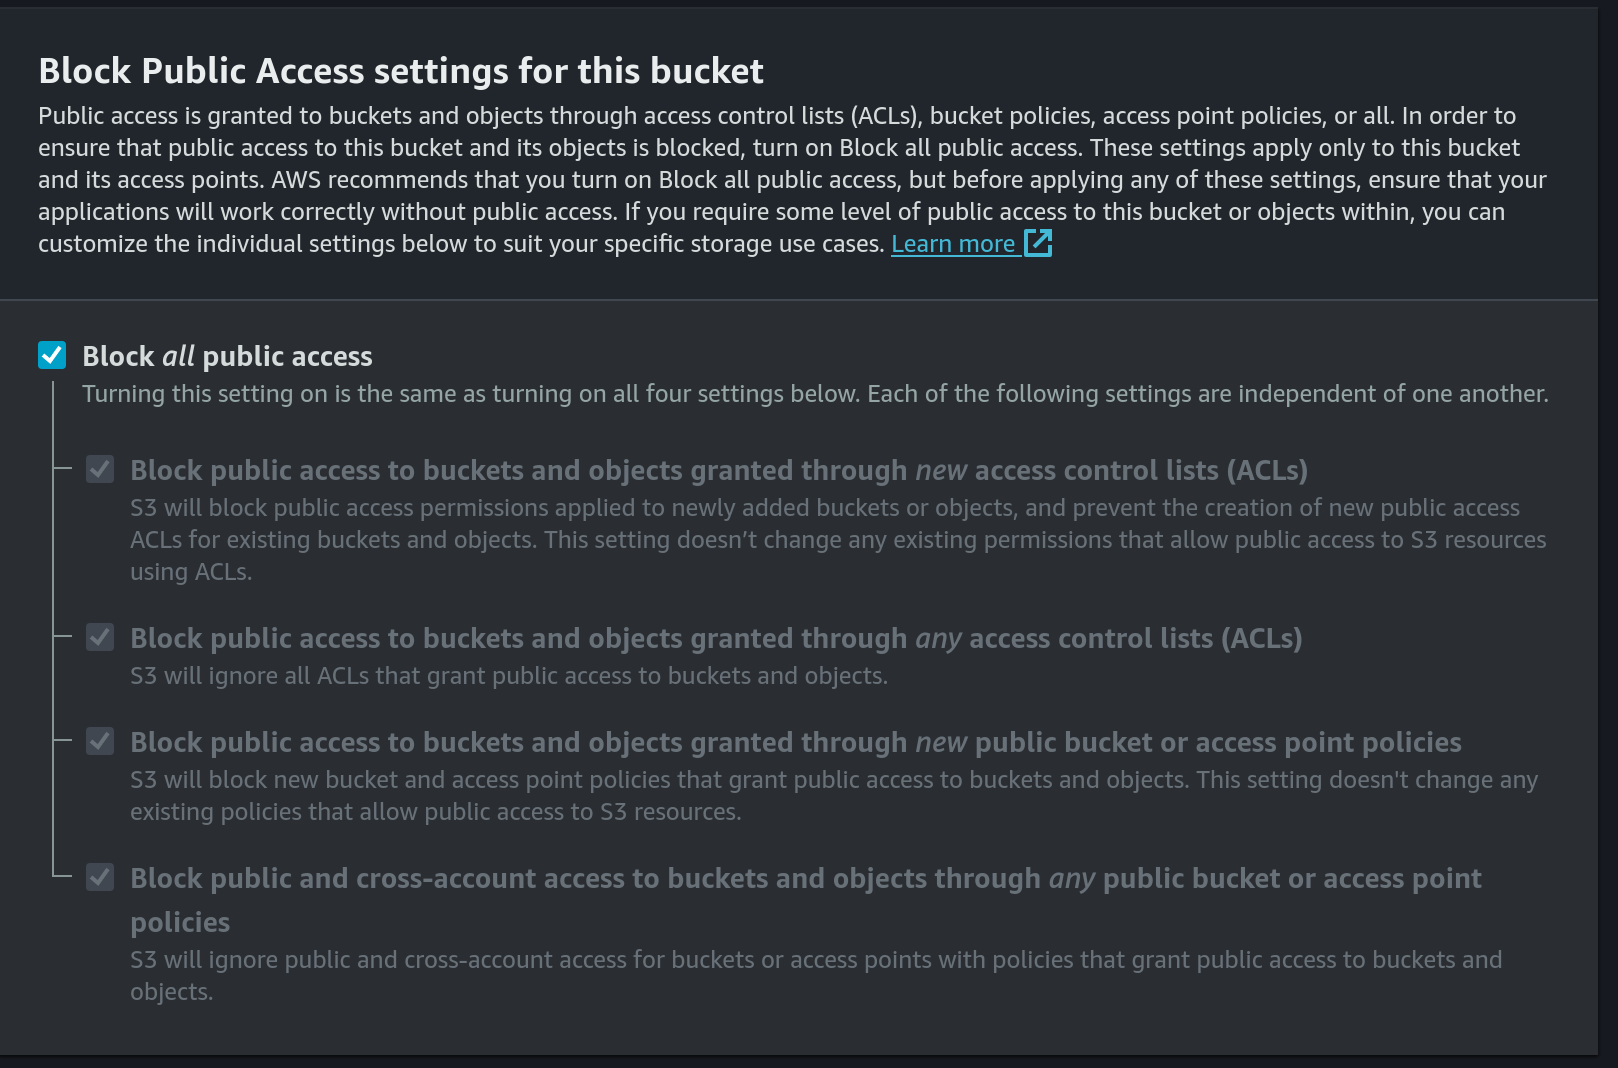
- Block public access:
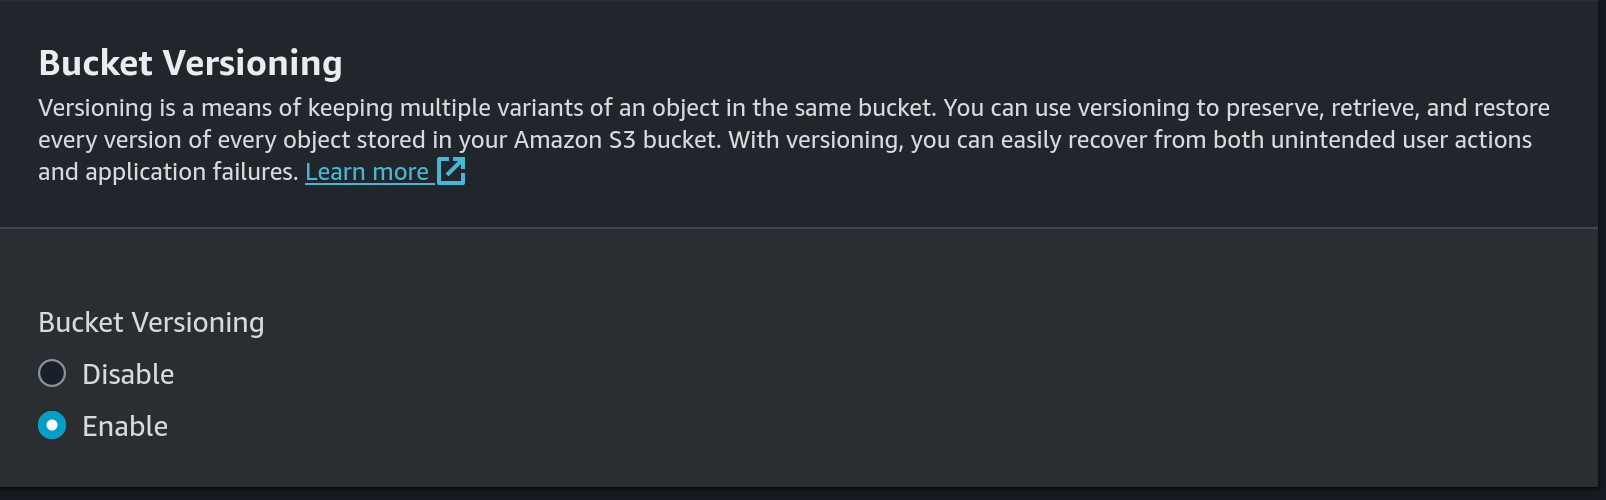
- Enable versioning:
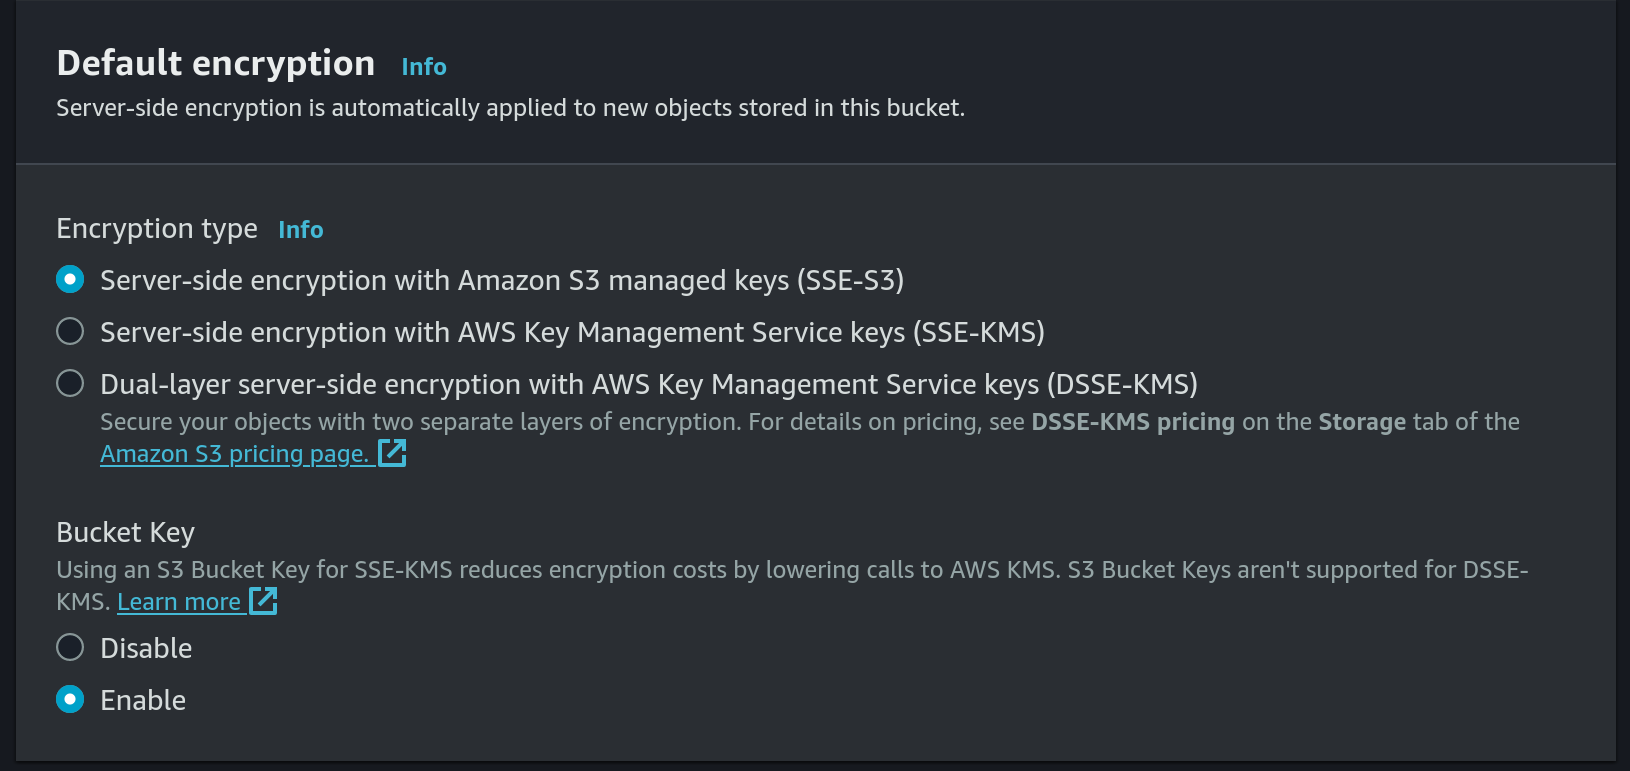
- Use default encryption:
- Set
- Create a new IAM Policy for S3 put access:
- Choose
S3as the service andPutObjectas access level: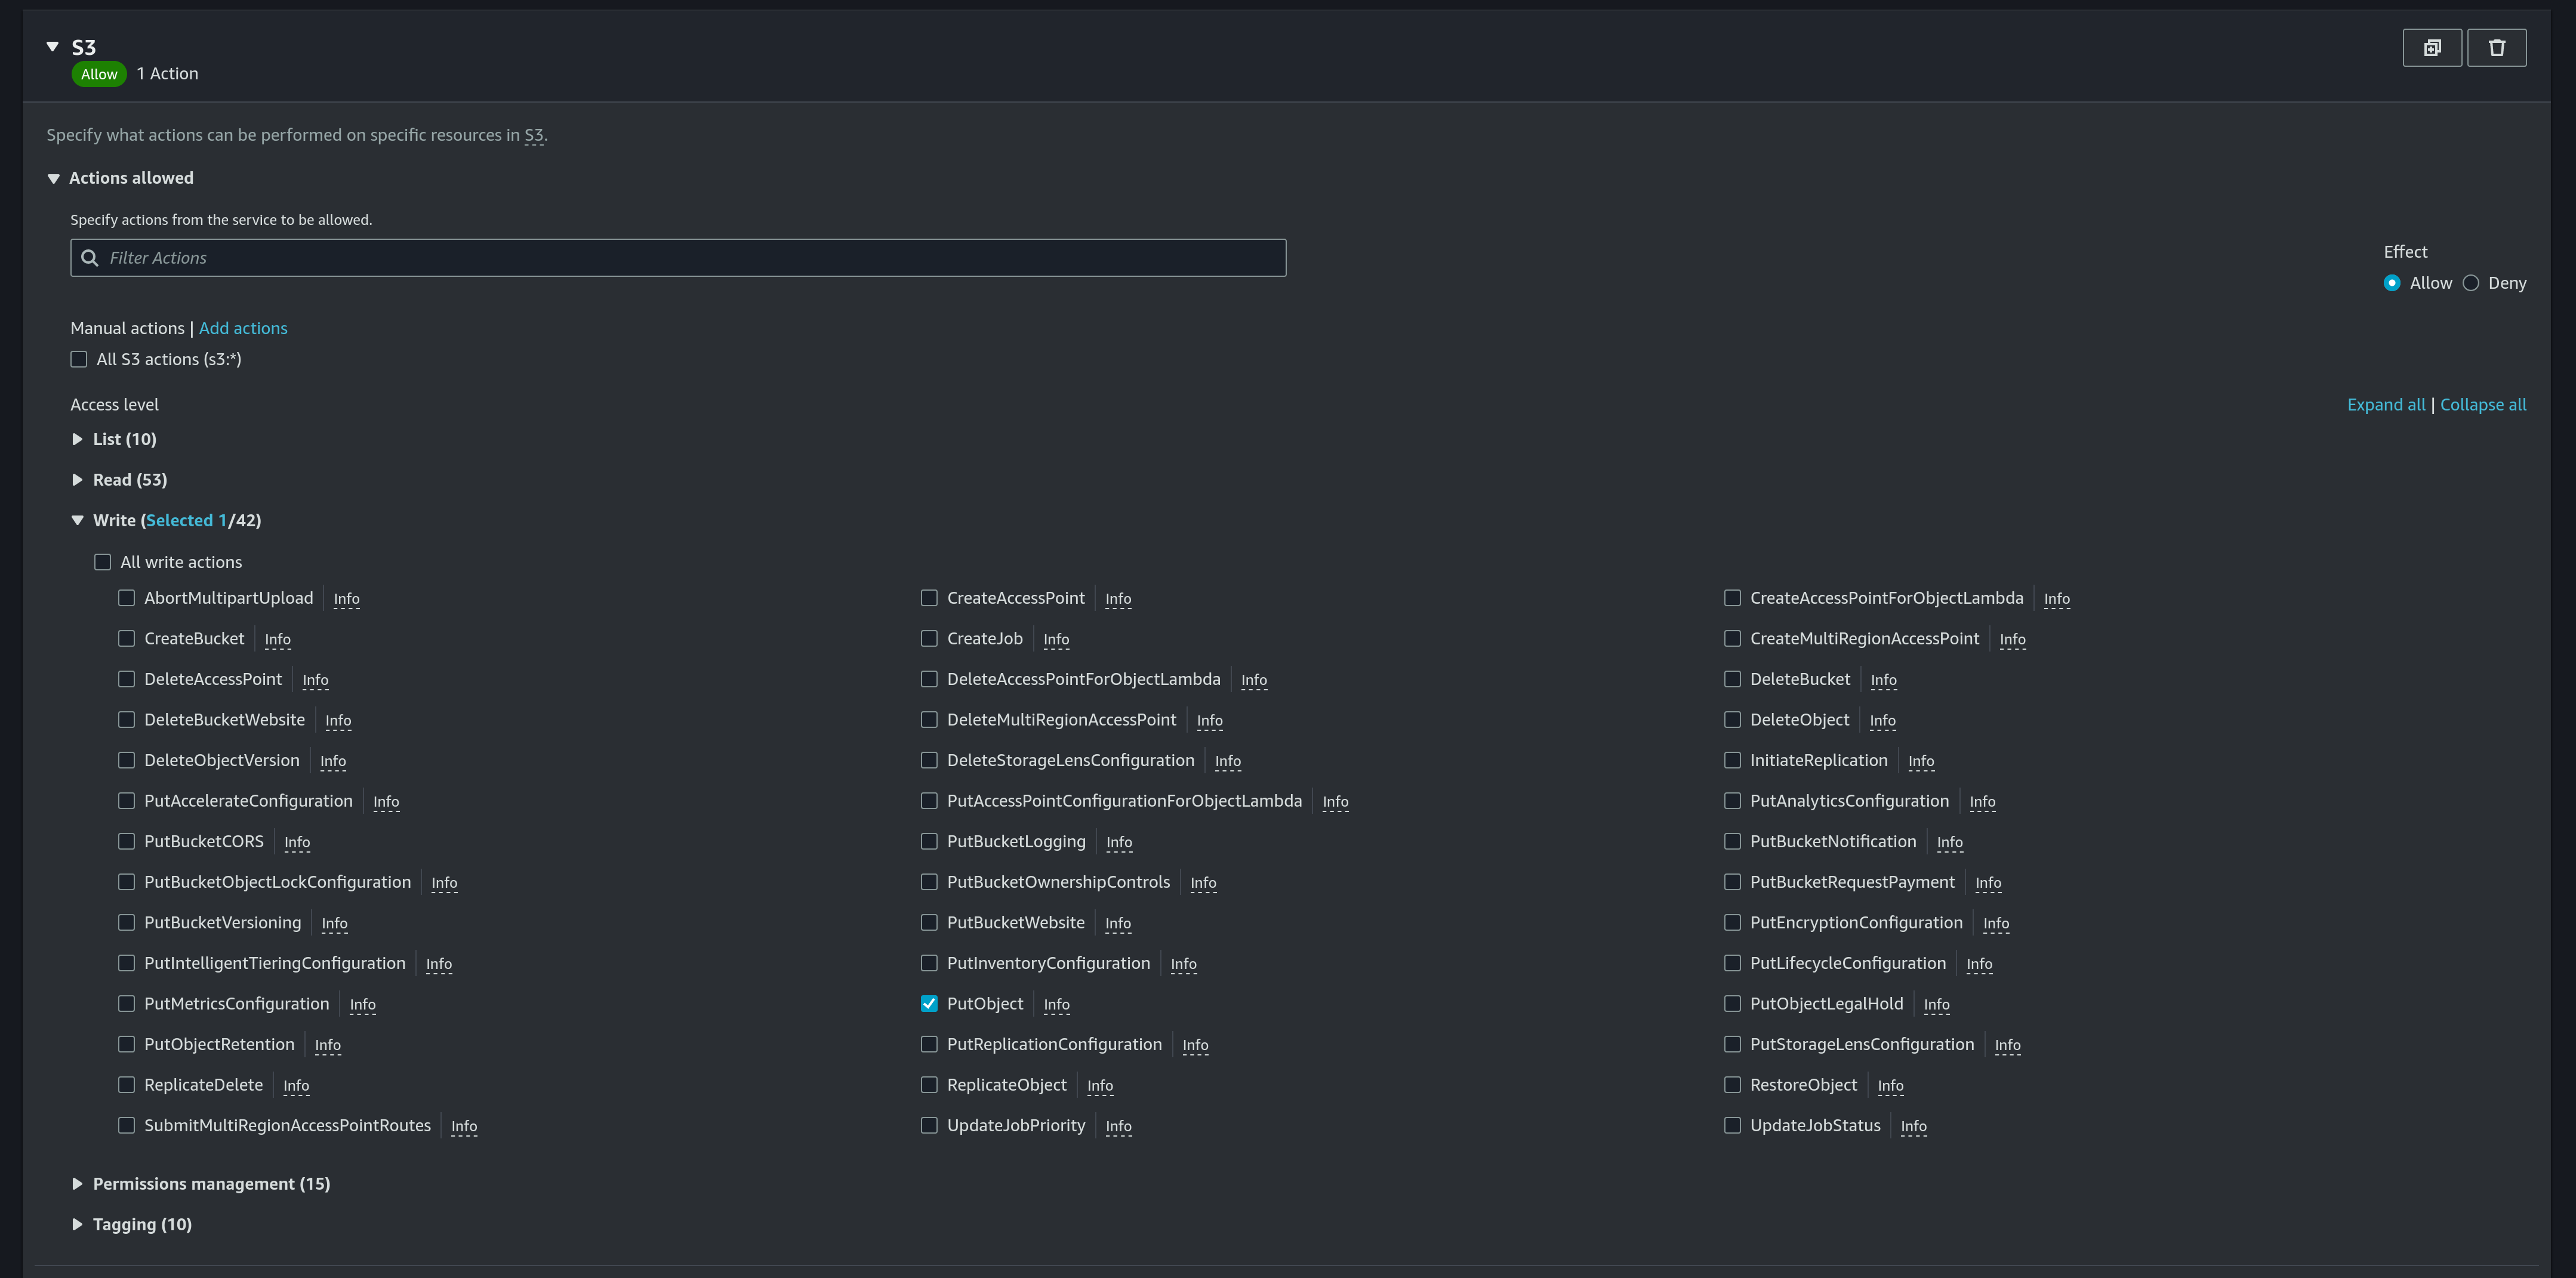
- Add a new ARN for
calendar-db-backupbucket anddatabase.db3file: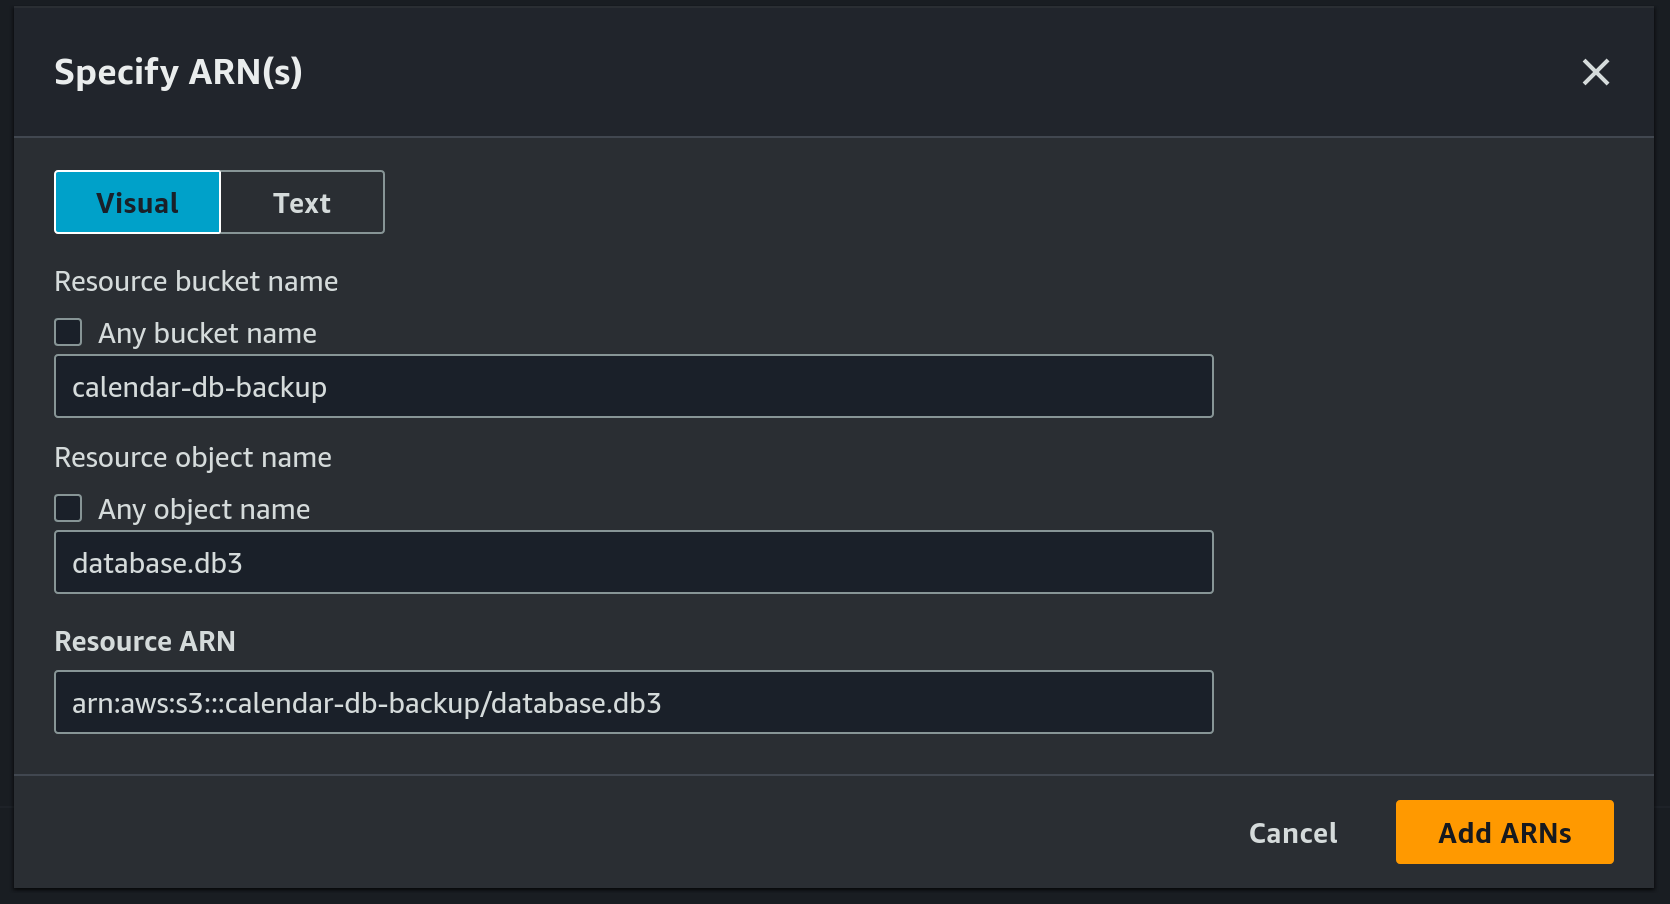
- Use
calendar_db_backupas the pollicy name: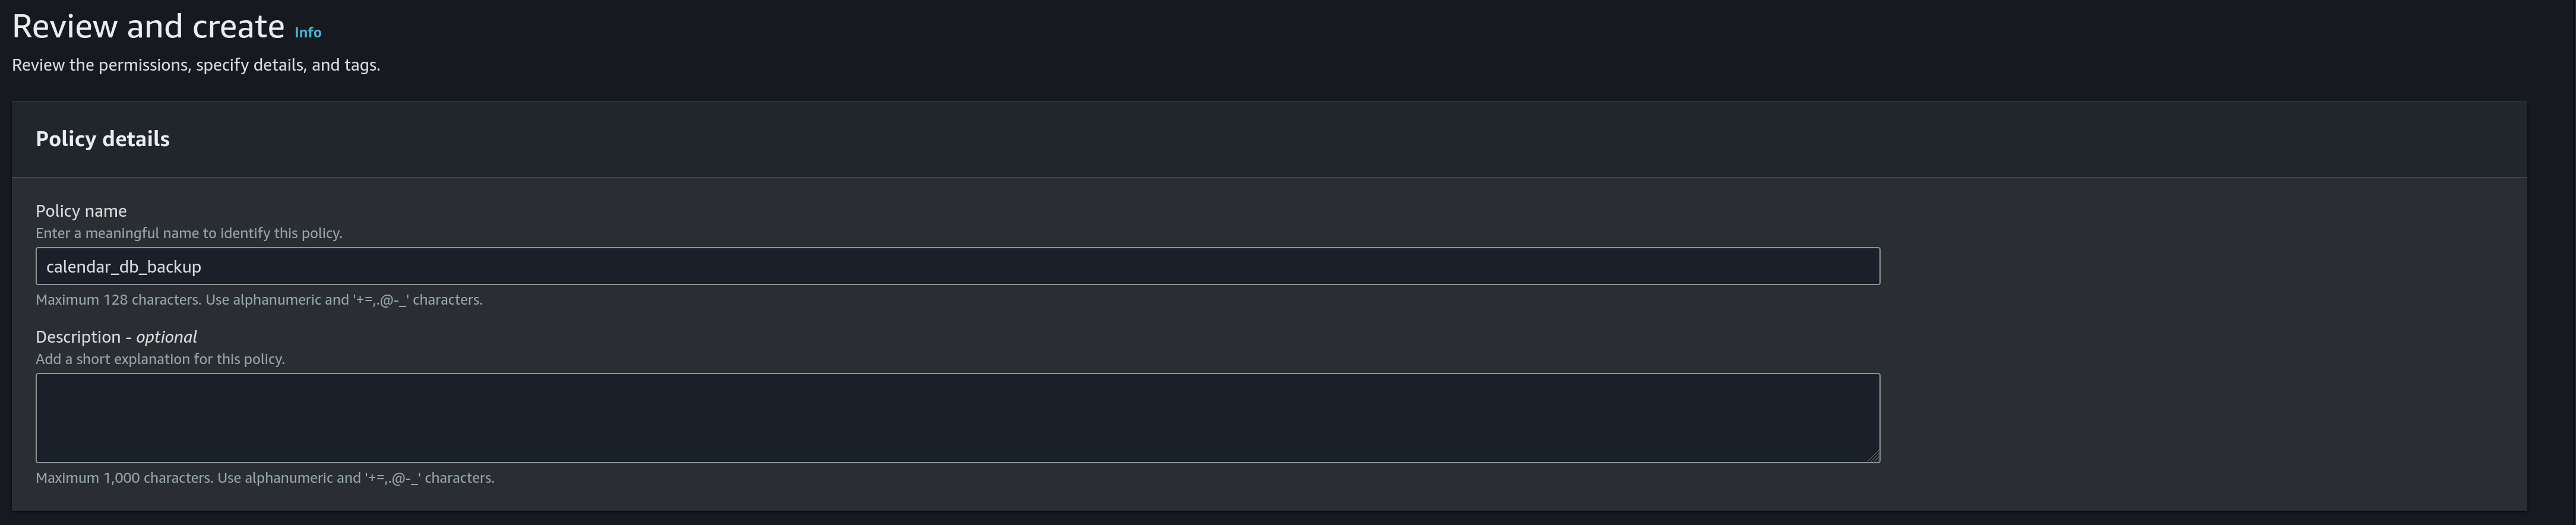
- Choose
- Create a new IAM role
- Choose
AWS serviceas the trusted entity type: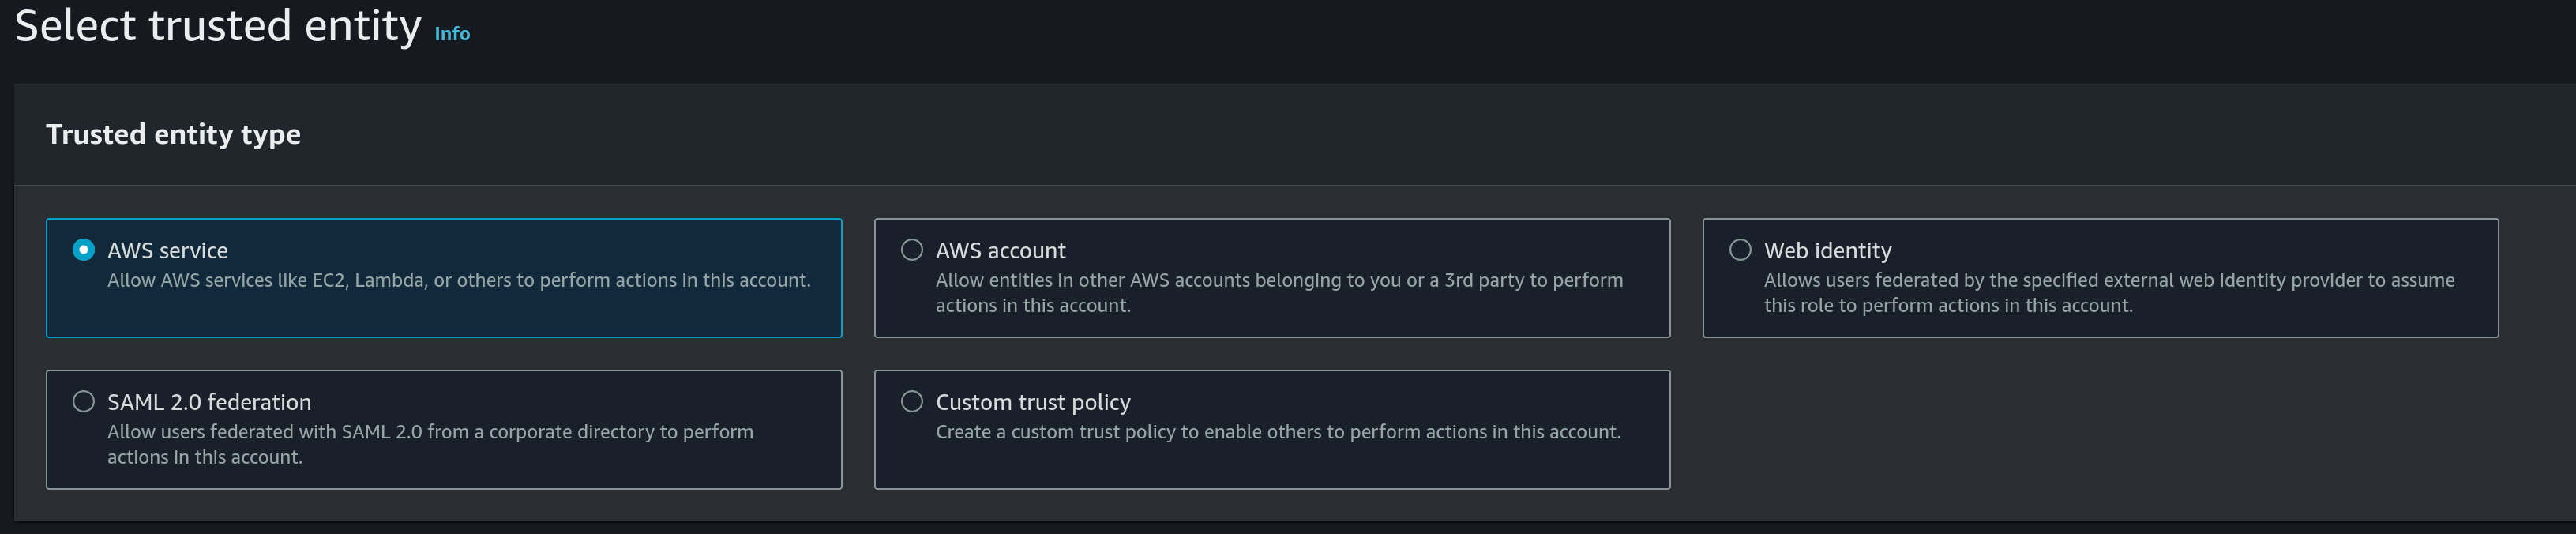
- Use
EC2as the use case: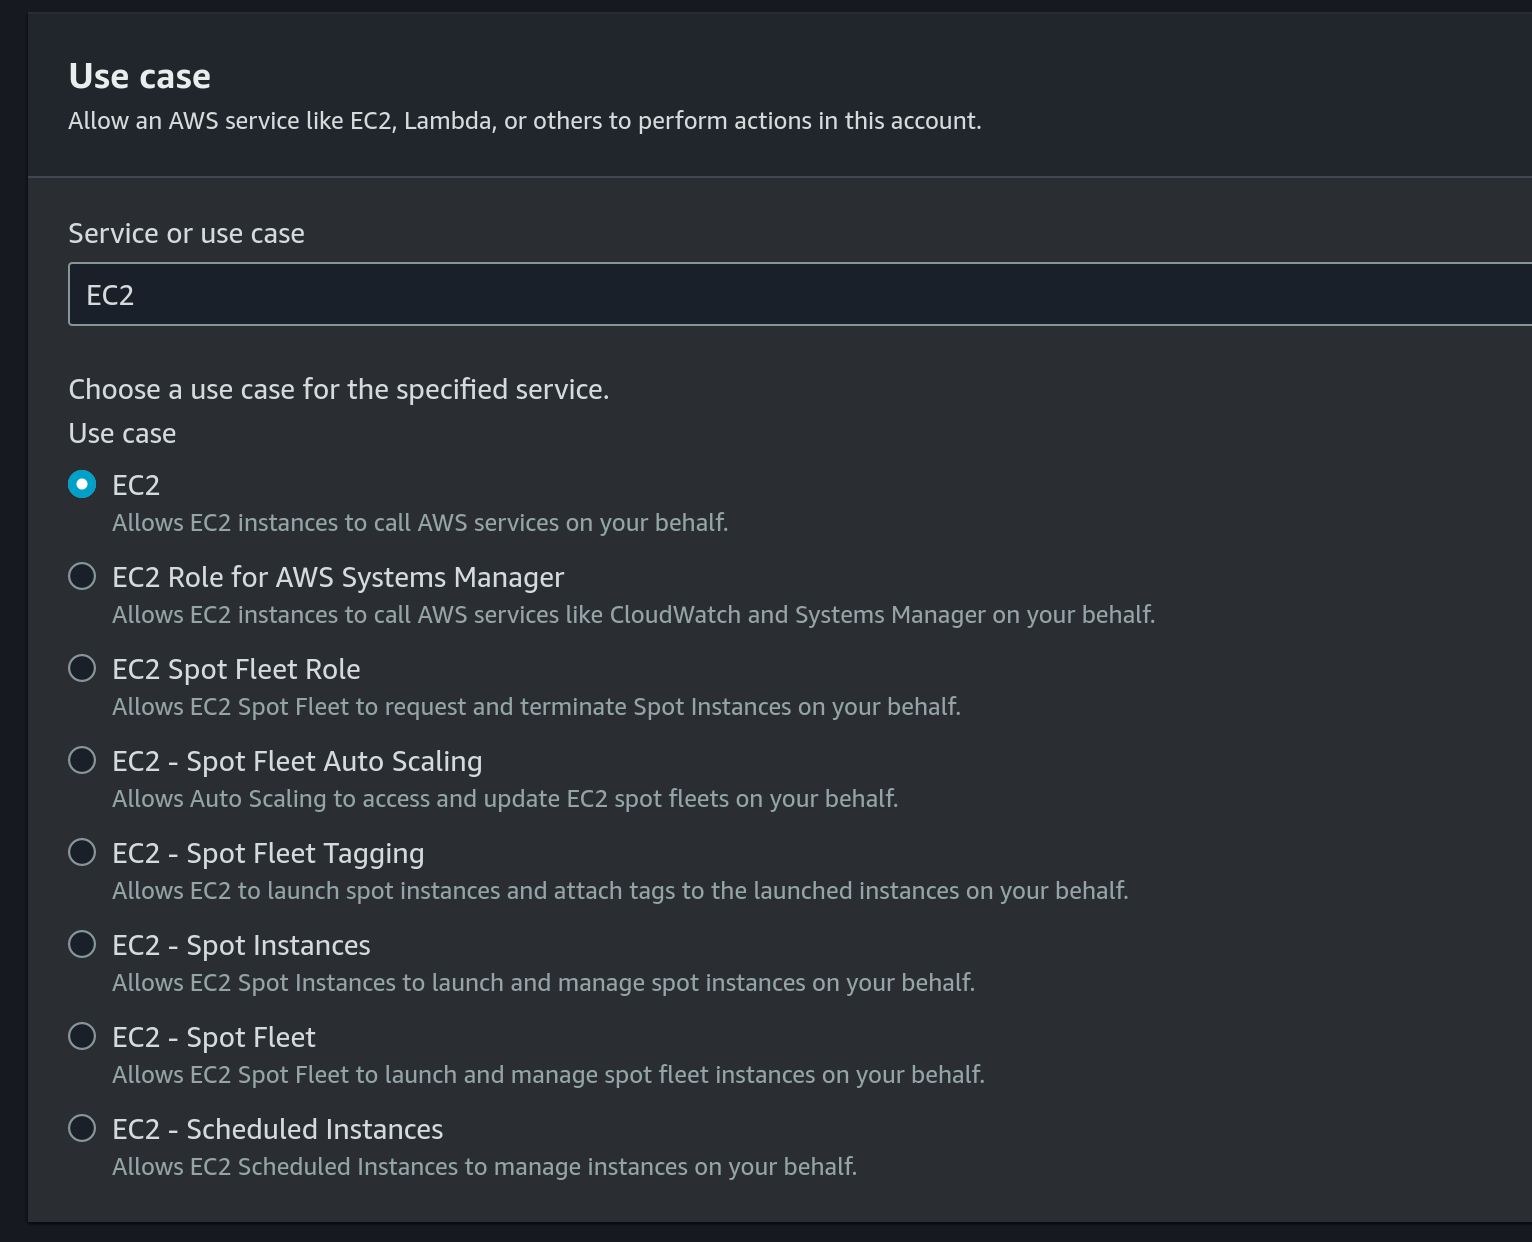
- Choose the previously created IAM Policy under permissions policies:
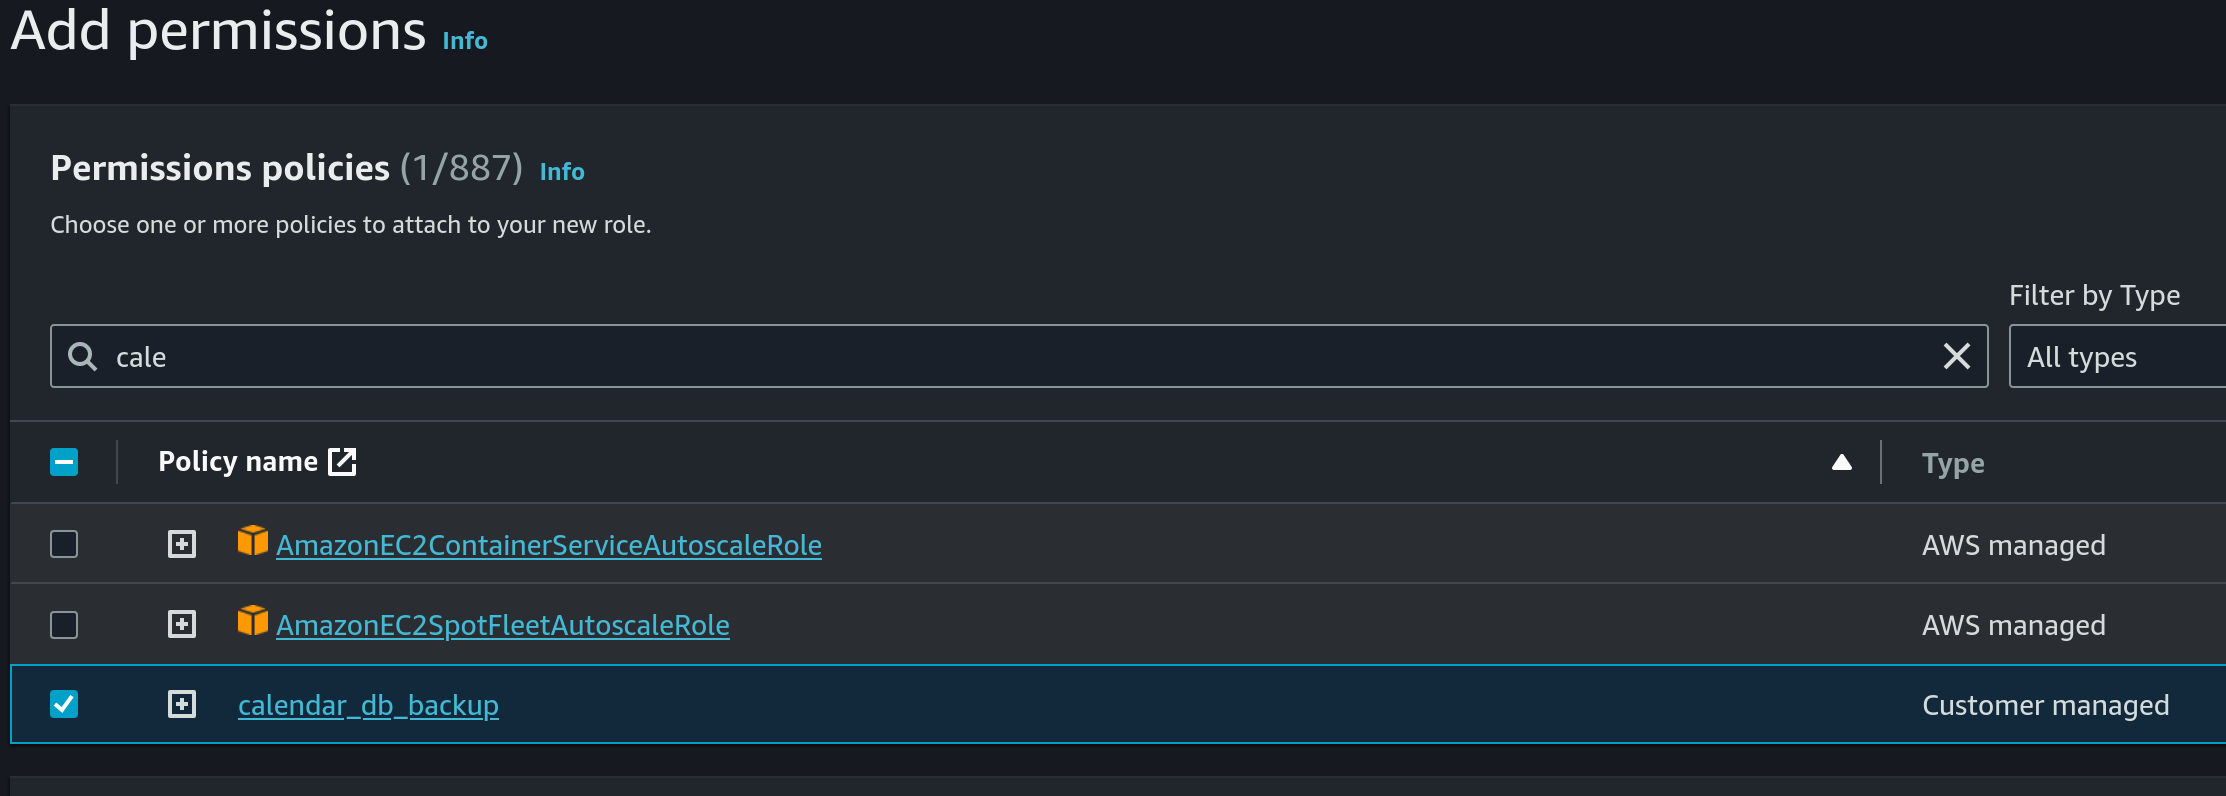
- Use
calendar_db_backupas the name: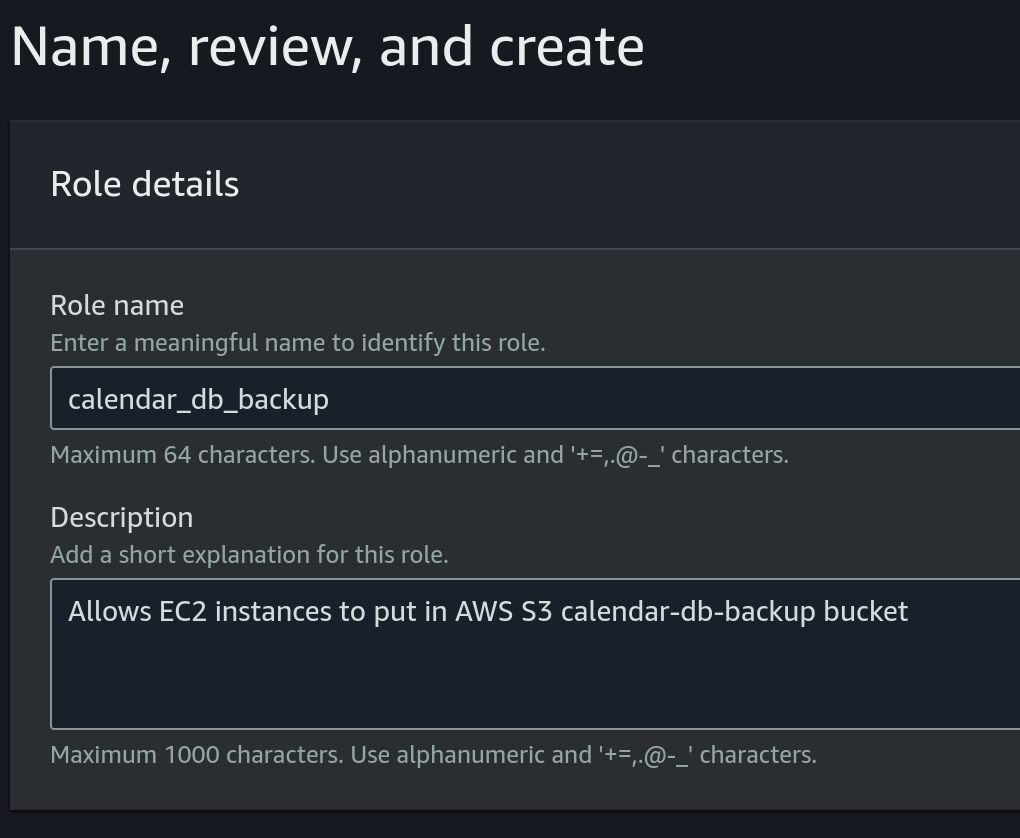
- Choose
- Attach role to EC2 instance:
- Choose the EC2 instance, then click on
Actions, then click onModify IAM roleunderSecurity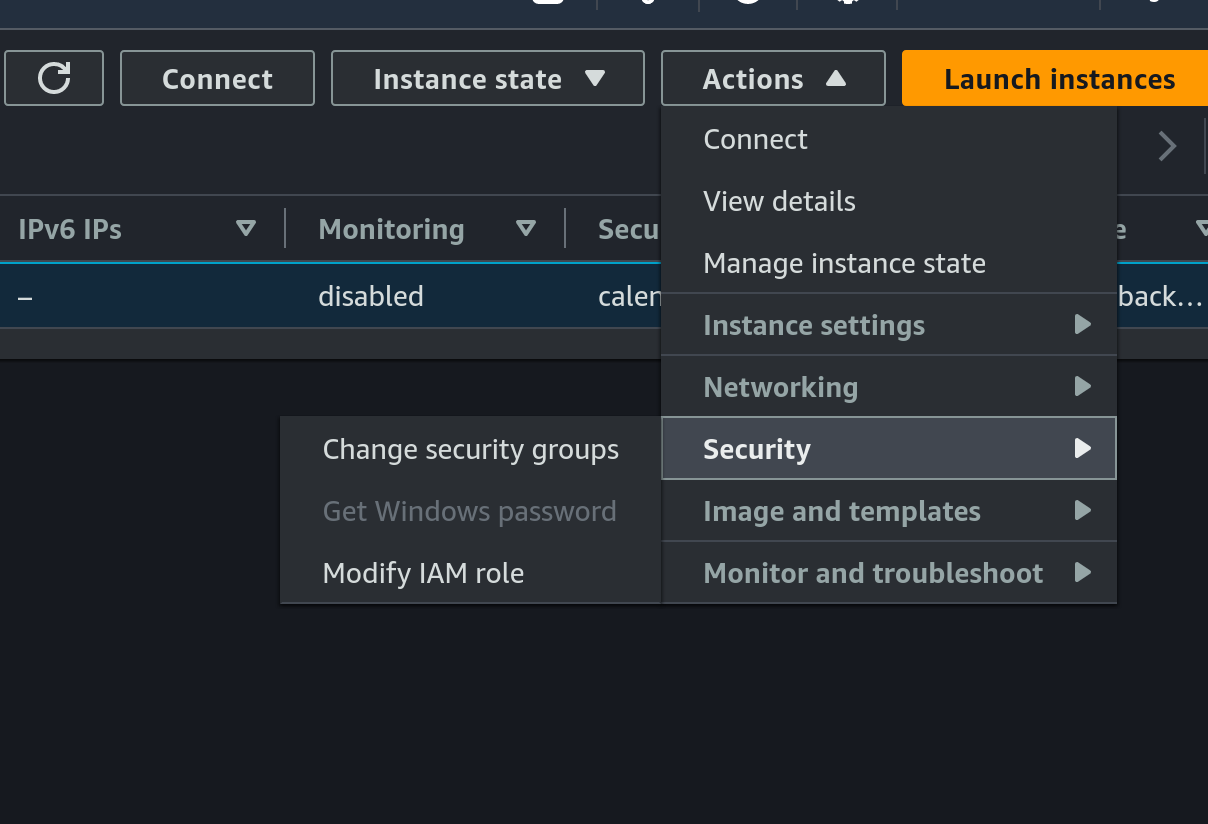
- Choose the previously created IAM role:
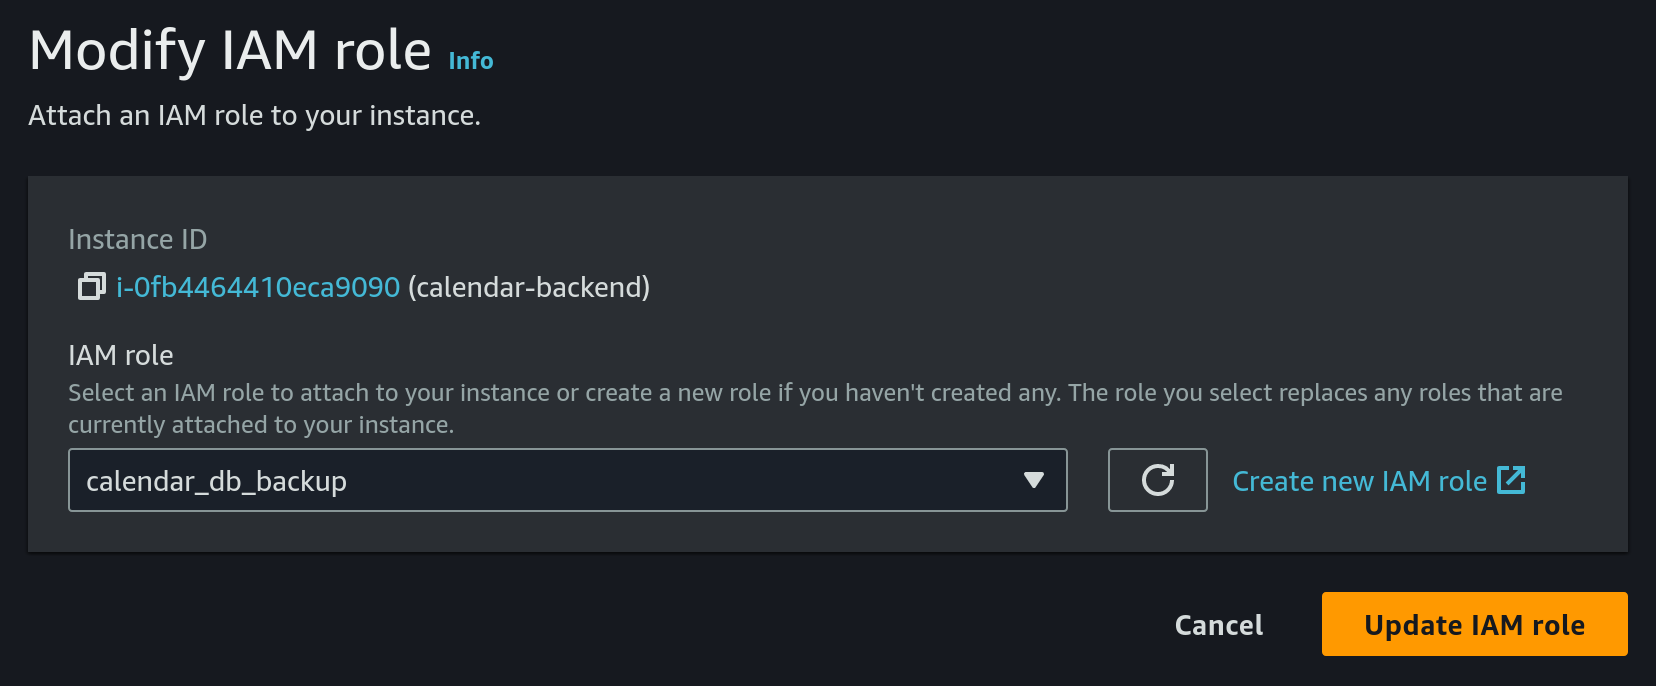
- Choose the EC2 instance, then click on
- Configure cron on EC2
- SSH into the EC2 machine
- Install
crondbecause it's not present by default:- install
croniesudo dnf install cronie - enable
crondsudo systemctl enable crond - check that
crondis running as expected
The result should look like:sudo systemctl status crond● crond.service - Command Scheduler Loaded: loaded (/usr/lib/systemd/system/crond.service; enabled; preset: enabled) Active: active (running) since Tue 2024-04-16 06:59:54 UTC; 4min 57s ago Main PID: 1858743 (crond) Tasks: 2 (limit: 510) ...
- install
- install sqlite
sudo yum install sqlite-devel - create a new file
db_backup.shin home directory (/home/ec2-user):cd /home/ec2-user sqlite3 database.db3 ".backup 'database_backup.db3'" aws s3 cp database.db3 s3://calendar-db-backup/database.db3 rm database_backup.db3 - give exec permissions to the previous file:
chmod +x db_backup.sh - run:
This will upload the database to S3 bucket every day at 00:00, 06:00, 12:00, 18:00 UTC timeecho "0 0,6,12,18 * * * root /home/ec2-user/db_backup.sh" | sudo tee -a /etc/crontab > /dev/null
- Choose
-
Configure the TLS certificate by following the tutorial from here.
Note that you will have to
sshinto the EC2 machine for setting the certificate. To do this we will need:- the private key from the key pair that we chose on instance creation from above
- the public DNS of our EC2 instance. This can be found in AWS console on instance details
- run the following command from a terminal:
ssh -i PATH_TO_SSH_KEY ec2-user@EC2_PUBLIC_DNS
Also make sure that the
calendar-backendis pointing to the correct certificate. -
Configure the deployment pipeline. For this we will have to update a few github secrets:
- SSH_PRIVATE_KEY - this should be the private key of the key pair configured on EC2 from above
- REMOTE_HOST - this should be the public DNS of our EC2 instance
- REMOTE_USER - set this to
ec2-user - CALENDAR_JWT_SIGNING_KEY - the secret key used by the
calendar-backendto sign jwt tokens
-
Finally we can trigger
Deploy to EC2workflow to deploycalendar-backendto the newly created EC2 instance
You can find a sequence diagram explaining the process of deploying to EC2 here.